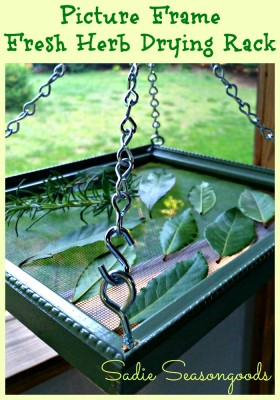
This step by step tutorial of how to build a hanging picture frame fresh herbs drying rack that will let the elements of nature naturally dry your selection of herbs. Warm temperatures and a gentle breeze contribute to air drying from below and above a filled screen mesh.
The best time for harvesting culinary herbs is in the morning after the dew has evaporated but before the afternoon sun has sapped the plants color and fragrance.
-
Wash your herbs and remove leaves from stems, discard stems.
-
Pick out any discolored or bruised leaves and discard.
-
Place leaves on frame leaving enough room in between leaves for air to circulate.
-
Place dry hanging picture frame herb drier until leaves are dry. Usually crisp to the touch.
-
Remove leaves and place in bowl. Gently break leaves to desired size.
-
Place in mason jar and store out of sunlight.
Please LOOK BELOW to read the remaining part of the article.
Photo Source

Click here to read about how to build a hanging picture frame fresh herbs drying rack:
.
http://www.sadieseasongoods.com/tie-me-up-dry-me-out-fresh-herb-drying-rack/
.
.
Click here to read about how to build a multi level fresh herb drying rack project:
http://fresheggsdaily.com/2013/05/diy-tiered-herb-drying-rack-using.html
.
.

