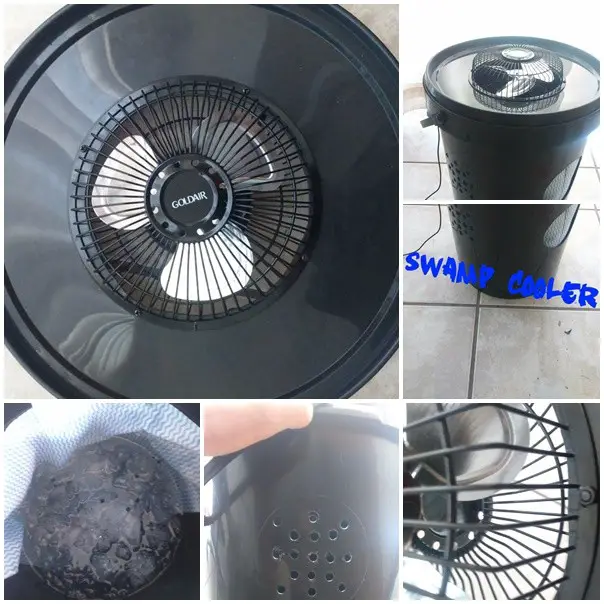
This simple tutorial of how to build a homemade swamp cooler DIY project is a great way to create a cooling breeze from frugal items. If you ever tried to use a simple fan to cool off in the scorching heat of summer you know that it really does not do much.

Make sure you like Homestead Survival on Facebook, Pinterest Boards or Google Plus to be updated every time we find a tutorial for innovative ways you can become self-sufficient on a budget.
This is because all a fan really does is circulate the hot air in the room and that really is not going to cool you down. There has to be a way to lower the temperature of the air in order to cool down the room.
This is where this Do It Yourself project will come in handy, it is commonly referred to as a swamp cooler. The creator of this project figured out the perfect way to first lower the temperature of the air and then circulate the air throughout the room. The best part is that it only requires the power that is provided by a single USB port.
Benefits of following the Swamp Cooler DIY Project
● Create your own personal super cooler and bring it anywhere there is an USB port
● Project includes a complete list of materials, supplies and tools necessary
● It also includes an easy read and follow detailed step by step instruction guide
● Project includes several full photos depicting many of the stages of the assembly
Materials:
A Bucket 20L
A lid that fits said bucket
A USB desktop fan
Some cleaning cloths or thin porous material (40cm x 30cm)
Tools:
A rotary tool (Dremel)
A measuring tape
A vernier (Vernier scale)
Hot glue gun (with glue sticks)
Click here to read about how to build a homemade swamp cooler DIY project:
http://www.instructables.com/id/Swamp-Cooler-1/?ALLSTEPS
[amazon-related-products keywords=”swamp cooler”]

