
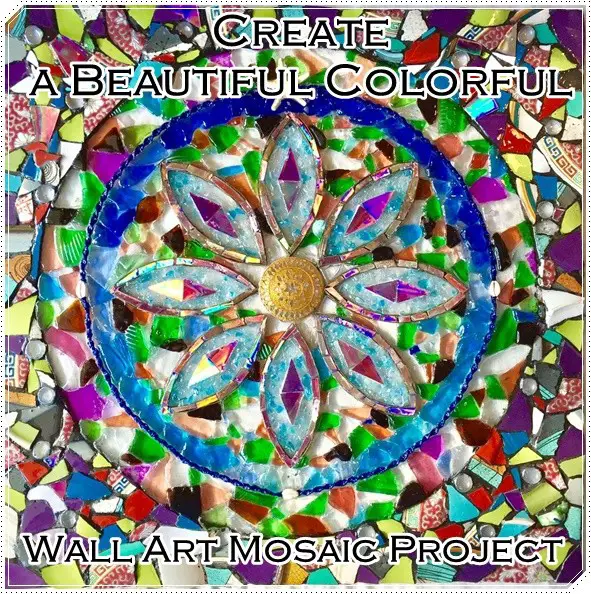
This tutorial of how to create beautiful colorful wall art mosaic project from broken and repurposed as art supplies frugally.
Make sure you like The Homestead Survival on Facebook, Shop on AMAZON with Us and explore our PINTEREST BOARDS for innovative ways you can become self-sufficient on a budget.
One of the most exciting things you can do as a homesteader is use personalized mosaics to convey your artistic side. What you’ll love to know is that creating a beautiful piece is easier than you might think. Here’s what you’ll need:
• Your mosaic tiles, sea shells, broken pieces of broken colored glass, broken dishes and such…
• The base you’re going to adhere mosaics to
• Glue
• Grout
• Resin or sealant
The first step is to decide what mosaic design you want. This is a very flexible art form so the possibilities are endless. Next, you want to break down your pieces. Here is where you have to take your mosaics and prepare them for adhering to your table, light box, bowl, etc. You can get them from broken ceramic, small glass items, sea glass, broken CDs or DVDs, sea shells or small tiles.
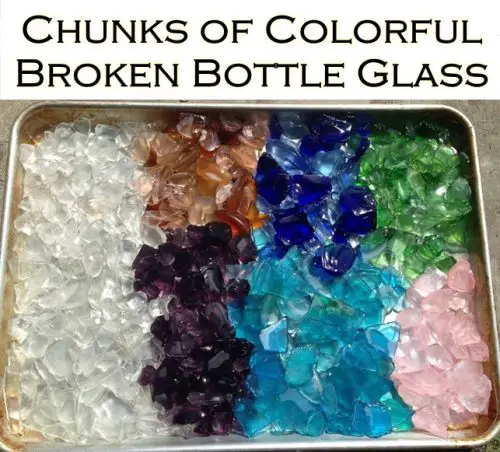
Be sure to take the necessary precautions as the edges will be very sharp. Use gloves and protective goggles. Put your large pieces into a strong plastic or cloth bag and shatter them down to the right size.
Next, print your design on paper and put it on your surface. You can glue your mosaics directly to the paper or you can glue your paper to the underside of your surface and work off of that. When your mosaics are secured down, you can use your grout. Of course let your pieces dry thoroughly prior to going to the next step.
When grouting, or setting, you should carefully push grout into the empty seams of your surface. Let it dry for at least 20-minutes and then scrub your piece with a wet sponge. If you’re securing your mosaics with resin, be sure to follow the box directions for the best results.
Finally, be sure to spend adequate time cleaning your piece prior to sealing. You can use a nail to scrape off any unevenness in grout, or you can use a scrub brush. To add the shiny finish, add a layer of resin.
You’re finished and now have a beautiful customized piece of art!
Click here to read about how to create beautiful colorful wall art mosaic project:
http://www.instructables.com/id/Personalized-Mosaics/?ALLSTEPS
[amazon-related-products keywords=”mosaic”][amazon-related-products keywords=”wall art mosaic”]