

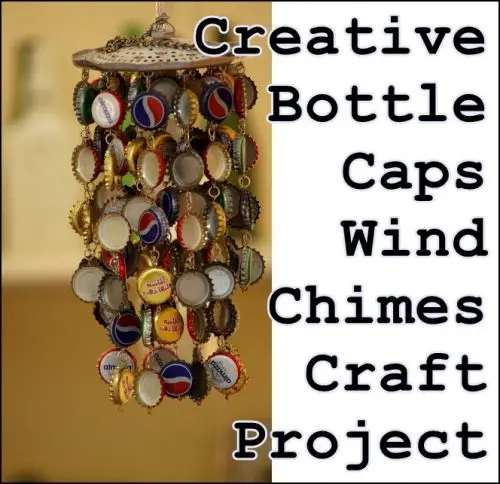
This simple tutorial of how to make a creative bottle caps wind chimes craft project. There are so many different colored bottle caps from different drinks so as the wind blows the beautiful movement of color twirls.
Make sure you like The Homestead Survival on Facebook, Shop on AMAZON with Us and explore our PINTEREST BOARDS for innovative ways you can become self-sufficient on a budget.
The bottle caps project is all about a wind chime inspiration. This idea begins with some old shards of glass and a crushed up beer can. Here are some easy steps showing how to get started.
1. Gather some bottle caps
Depending on the size of your finished product, you will need at least 40 to 50 caps to make a moderately sized wind chime. When it comes to bottle caps supply, you could get a steady stream of nice caps from beer enthusiasts, family, and friends.
2. Other required supplies
This is a creative DIY project that requires a variety of other items like
– Piercing tool for putting holes in the caps
– Center Piece where you will attach all the likes of your bottle cap such as a metal strainer, tin cans, tree branch or an old CD.
– Metal wire for linking your bottle caps together.
3. Drill holes in caps
Depending on your preference and availability, you can with use a drill with a small bit or a hammer and punch to make holes near the edge of the cap.
4. Construct chains
Make chains on all your bottle caps after creating holes in them.
5. Attach to the center piece
Use the wire to hook the chains and the centerpiece together.
Click here to read about how to make a creative bottle caps wind chimes craft project:
http://www.trinaisartsy.com/2012/07/how-to-make-bottle-cap-wind-chime.html
[amazon-related-products keywords=”wind chimes”][amazon-related-products keywords=”Ylyycc 28 Metal Tube Wind Chime”]