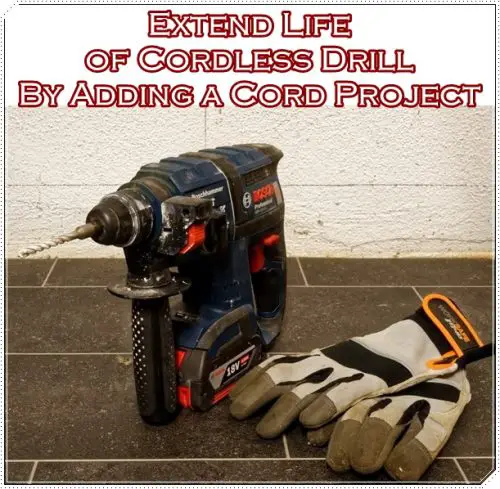
This tutorial of how to extend life of cordless drill by adding a cord project is for the frugal minded homesteader.

Make sure you like The Homestead Survival on Facebook, Shop on AMAZON with Us and explore our PINTEREST BOARDS for innovative ways you can become self-sufficient on a budget.
Cordless tools are a fantastic boon to the power tool user but the word power is the operative in the phrase. Batteries don’t continue to supply the needed punch to a drill or automatic screwdriver after a few uses.
Power from a wall outlet is really the only way to go with power tools. Once your cordless tool dies, it’s not necessary to toss it. You can add a power cord to a cordless tool with a few other tools and some know how.
You will need to build an actual wire attachment so you’ll need to know how to solder. The new cord will also require wire and a power adapter. The battery pack that comes with the drill is going to be modified. If it’s not useable, you can use another pack and attach it but for this project, go with the pack that fits the drill.
The casing of your power tool is held by screws, some of which are tiny. On occasion, the casing is sealed with clips or glue so use a knife to separate it. Then you’ll need to separate the wires that run from the battery cells and attach an adapter by stripping the adapter wires. The adapter itself should be in the power range of 12 volts. These can vary so make sure you have the right one.
Once the adapter is attached to the wires powering your drill, you are almost good to go. Make sure to test it and read up on wiring, in case of any power fluctuations. Here’s a simple step by step guide for adding a cord to your cordless power drill.
Click here to read about how to extend the life of cordless drill by adding a cord project :
http://www.instructables.com/id/Extending-the-Life-of-a-Cordless-Drill-by-Adding-a/?ALLSTEPS
[amazon-related-products keywords=”cordless drill”][amazon-related-products keywords=”power tools”]


