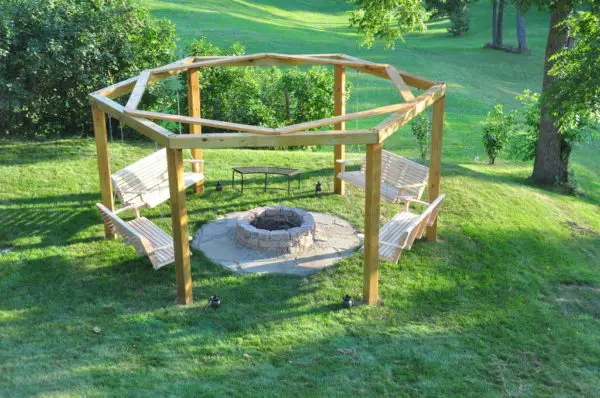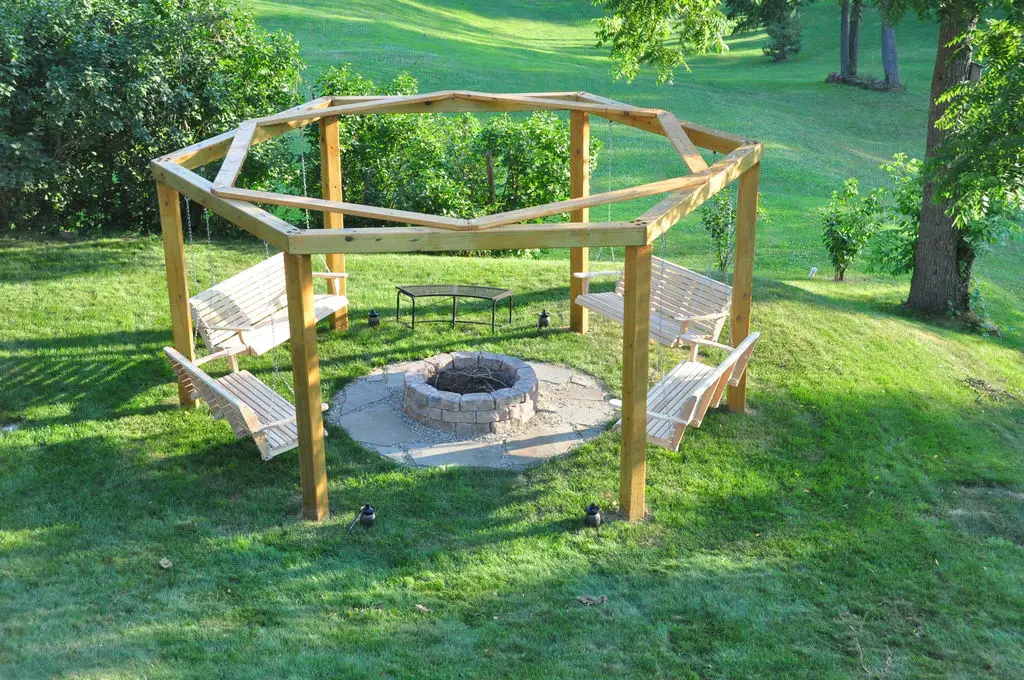
The chances are that you have come across a fire pit swing and wonder how you can create one. This post will guide you on how you can set up one today if that is what you are looking for. Let’s get started.
Step 1: Choose a Site
The first thing you should do is to choose a perfect site. You probably need a level area, but you don’t have to worry if the area you choose has an uneven surface. In this case, you should level the area after you have built your fire pit swing.
Step 2: Determining Measurements
Most people are familiar with building squared structures, so it becomes a hassle when it comes to creating something much different, such as a fire pit swing, which takes the form of a hexagon. To bypass this challenge, make sure that you measure everything from the center point. Usually, for hexagon structures, the distance between the center and the outer edge will be lesser.
Step 3: Lay the Posts
The next step is to lay the posts. So place a steel rod then measure the length of your beams. You can choose any measurement, 8 feet, for example. This is the best starting point because your posts will automatically end within the circle.
Step 4: Set up the Posts
In your marked areas for every post, you need to auger holes. It is crucial to ensure that each hole is straight. You can start without any extension and drill six holes. Once that is done, attach the extension, then dig to three feet.
Step 5: True and Level the Posts
Leveling and truing your posts will give you some time to think. The good news, though, is that there are a ton of ways you can do this. For example, you can set the cheater beams you created on top of your posts using two deck screws.
Step 6: Add Cross Beams
If you marked the center of your beams before cutting them, you’d need to place the board to lay over the two beams. You can use either a straight edge to help you mark the cut on every end of your board.
Step 7: Stain, Level and Set up Fire Pit Swing
Here, you need to level the area if you were working on a sloppy or uneven surface. Additionally, you will want to stain every board to make sure that no pencil marks are left. Pencil marks are hard to get rid of, so I recommend using two coats.
Step 8: Install the Benches
The benches come in flat boxes with separate assembling tools. Setting up the benches is a no brainer because they come with an instructions manual that’s easy to understand.
Wrap Up
Once you’ve assembled the entire fire pit, light it up using dry firewood. Meanwhile, there are Tiki torches placed outside the posts to provide light. This is a plus to the light generated by firewood.


