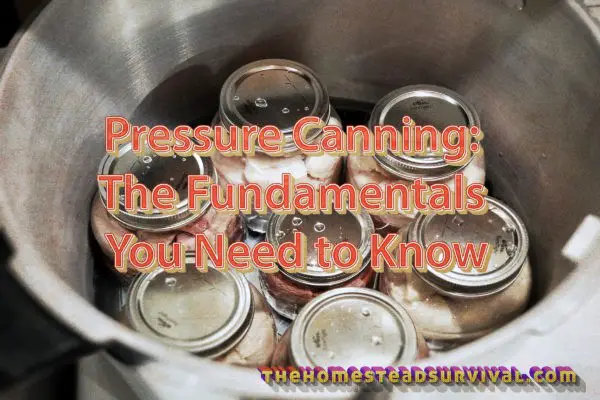
If you are looking for the best way to preserve low-acid foods, then pressure canning is the only way.

This is because pressure canning can reach up to a temperature of 240 degrees, which is considered high enough.
Time and temperature are what destroy the food-borne bacteria, thus helping keep the food safe.
In this post, I’ll dive into the fundamentals of pressure canning to help you understand what is expected and what’s not.
1. Fill the Jars
You only need to fill a single hot jar at a time. The next thing is to pack whatever food you want to and make the jar as tight as possible. If you like, you can use a funnel to make your jar rims spotless.
2. Remove Air Bubbles
If you want to remove air bubbles, use a spatula. You can slide your spatula between the food and the jar. If need be, make sure to top up water.
3. Wipe Jar Rim and Add Lids
Your jar rims and threads need to be clean, so you need to wipe them using a fresh piece of cloth. Next, put the lid in place, then screw the band. This is essential because it helps the air to escape. Once that is done, you need to take back the jar in the canner before you begin to fill the next jar.
4. Fill Your Canner Then Lock the Lid
Set your last jar and ensure that it is in place. Additionally, make sure that the water in your canner does not cover the jars. Next, you need to put in place the pressure canner and lock the lid. Please take note that you shouldn’t add a regulator at this stage.
5. Vent the Pressure Canner
Turn the heat high, then let the steam come out. This can take up to ten minutes, so don’t hurry things up. Once that is done, plug it.
6. Depressurize and Open the Canner
Once you’ve completed your recipe, make sure to turn off the heat before opening the lid. Until the safety valve is at zero, refrain from opening the canner. The pressure regulator comes in handy to help you check the amount of pressure. Ensure that you’re directly opposite the canner when opening to prevent the steam from burning.
7. Cool the Jars
Finally, allow the canning jars to cool for about ten minutes before you can remove them from the canner. Once the jars are cooled, place them on a kitchen napkin or wire rack. Cover them loosely and let them cool for 24 hours before you can store for future use. Quickly perform a test seal to check whether they are correctly sealed.
8. Achieve the Correct Pressure
Now, the safety valve will come in handy to ensure the right temperature is achieved. In practice, the safety valve will pop to the intended position to show whether or not the canner is pressurized. Refrain from opening the canner when the valve indicates that the canner is pressurized. Remember to set a reminder for a specific recipe for efficiency.


