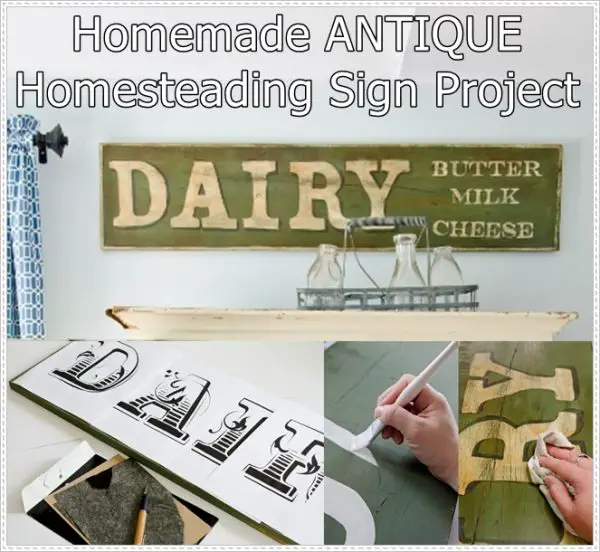
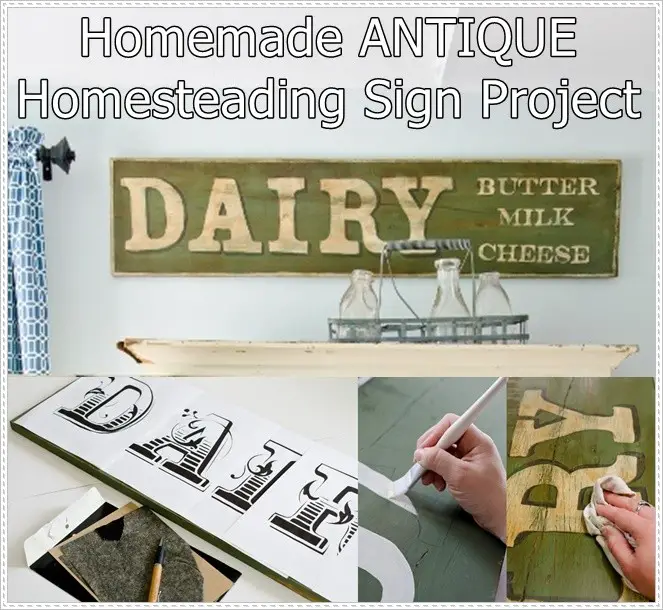
This homemade ANTIQUE homesteading sign project will help you bring cute little sayings to life with a little bit of creative flair. This tutorial makes it easy for anyone to recreate their own antique sign in just an afternoon.

Make sure you like The Homestead Survival on Facebook, Shop AMAZON with Us and explore our PINTEREST BOARDS for innovative ways you can become self-sufficient on a budget.
Signs have been a part of Americana since our country was founded, signs of all kinds of shapes and sizes can be found everywhere. There is one type of sign that seems to be very appealing, the antique wooden sign.
These days they are popular due in large part for the character and rustic charm that often bring to a room’s decor.
This craft tutorial was shared by homesteader who has a lot of experience with many different types of crafts. They came up with a simple, easy to follow method for making antique looking signs. The tutorial tells you everything you will need to have on hand and takes you through the entire process.
Materials needed for this project:
12” wide pine board cut to desired length
Acrylic craft paint (at least three colors)
2 ½” sash brush
1” artist brush, 1.0 liner brush, ½” angled shader
Computer
Printer and printer paper
Scissors
Tape
Graphite transfer paper
Ballpoint pen
80 grit sand paper
Dark brown soft furniture wax
Round brush or cotton cloth
Clean cotton cloth
Drill with driver bits
Tape measure or ruler
2 D-ring hangers
Hammer and nails
Benefits of using the homemade ANTIQUE homesteading sign project
● Create an antique looking sign for your newly remodeled room in your home
● Tutorial includes a complete listing of all of the materials, supplies and tools you will need
● It also includes an easy to follow step by step instruction guide that most anyone can do
● It has several full color photos that gives a visual representation of the construction
Click here to read about homemade ANTIQUE homesteading sign project:
http://missmustardseed.com/2012/11/making-an-antique-sign/


