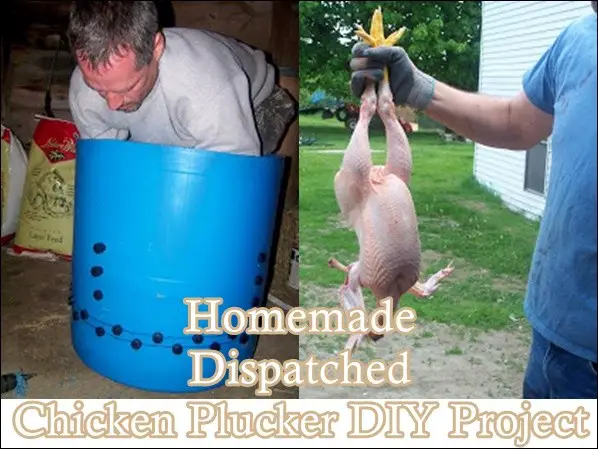
This Homemade Dispatched Chicken Plucker DIY Project is a perfect homesteading task that builds a tool that will save you 100’s of hours of work over years, if you raise your own chickens for meat. Plucking a chicken by hand takes a lot of time and it is not easy. A chicken plucker literally gets the job done quickier and faster.

Buy the 120 plucker fingers, which are these odd pieces of rubber, and a plastic barrel. Plug the rubber is checkered fashion along the bottom quarter of the barrel, but at the bottom. At four equal points, install the rubber plugs upwards to the halfway mark of the barrel. Have in hand wood, screws, liquid-based grease (to make the installation easier) and couplings. Get a 1/4” aluminum plate and 3/4” plywood plate also. Screw the wooden frames and put a coat of sealant to hold the barrel and have it suspended above the ground to install the engine which will underneath the barrel.
Next, take the aluminum and wooden discs and screw them together. This is the plate that helps pluck out the feathers of a chicken. With an auger blade gearbox, 10-to-1 ratio and with enough RPM on the motor to install below and spin the plucker. Get the coupling and begin the alignment (there will be some vibration) with a rubber piece in the center to cover the top end of the plucker; it should be strong enough to deal with fairly heavy birds.
The last thing needed is to instal a splash guard around the plate outside to keep the juices from spraying like a sprinkler all over our legs and shoes. (Wear jeans and boots.) It is recommended to wet the bird before sticking them in to keep the rubbers from being stuck to the feathers.
Pluck away!
Click here to read about how to build a Homemade Dispatched Chicken Plucker DIY Project:
http://achornfarm.blogspot.com.au/2009/06/how-to-build-chicken-plucker_30.html?m=1

