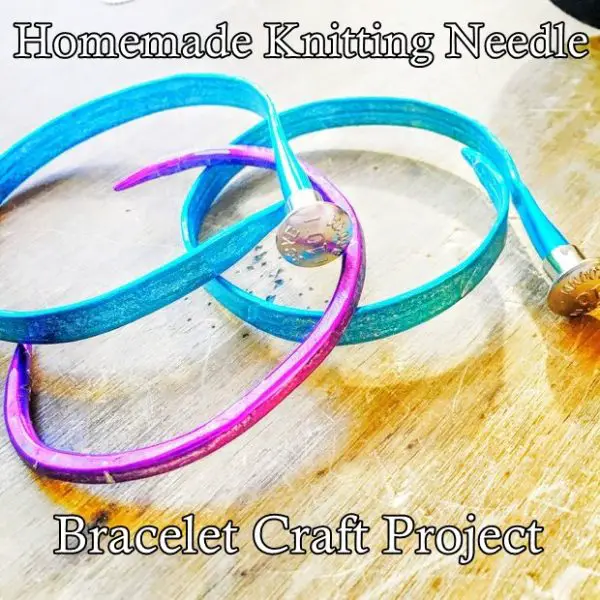
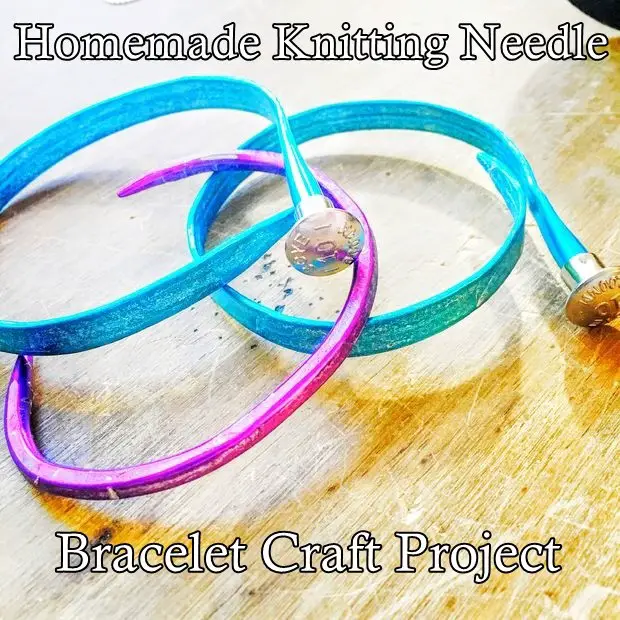
This tutorial of how to make homemade knitting needle bracelet craft project is a step by step process for homesteaders who love to knit and express their hobby through their jewelry.

Make sure you like The Homestead Survival on Facebook, Shop AMAZON with Us and explore our PINTEREST BOARDS for innovative ways you can become self-sufficient on a budget.
Do you have a pair of old knitting needles you no longer use? What about a passion for DIY fashion? Then check out this project! Knitting needles come in so many great colors that this DIY jewelry project can provide you with some stylish metal bangles.
You will need:
• Old knitting needle(s)
• Rolling pin
• Rounded hammer (BUY HERE)
• Steel block (method 1 only) (BUY HERE)
• Rubber block (method 1 only) (BUY HERE)
• Heavy duty metal stamping hammer (method 1 only)
• Pliers (method 2 only)
Instructions:
Method 1 – For thicker needles, you’ll first need to flatten them. If you’re using thin needles, skip ahead to the next section.
1. Set the steel block on top of the rubber block (to keep it from sliding).
2. Lay your needle on the metal block and, using your metal stamping hammer, begin to hammer the needle flat. Hammer both sides.
3. Now wrap the flattened needle around the rolling pin. You should be able to do this by hand, as the hammered needle will be much more pliable.
Part 2 – For thinner needles.
For this method, you’ll use two pairs of pliers to wrap the needle around the pin.
1. Clamp one pair of plies around the end, and the other near the tip.
2. Now, using the pliers to pull, wrap the needle around the rolling pin.
Finishing, Methods 1 & 2 – Using your rounded hammer, pound the needle (still on the rolling pin) to mold it to the curved shape. Slide it off of the pin and try it on. You can loose or tighten it by gently pulling.
Click here to read about how to make homemade knitting needle bracelet craft project:
http://www.instructables.com/id/Knitting-Needle-Bracelets/?ALLSTEPS
[amazon-related-products keywords=”knitting needles”]


