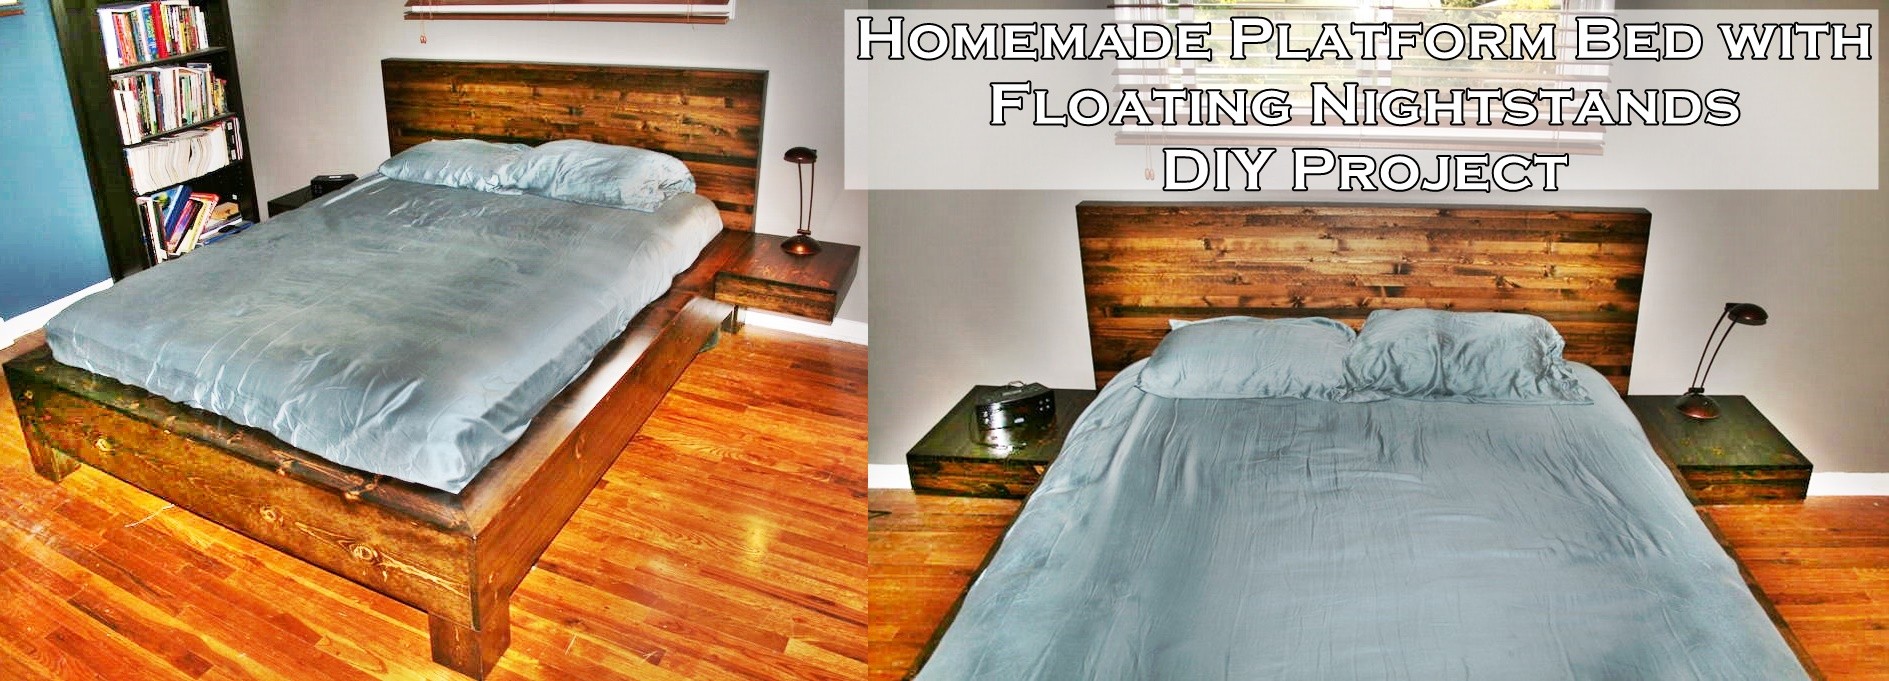
This homemade platform bed with floating nightstands diy project is amazing simple and straight forward in this step by step tutorial.
Have you ever just looked at your bedroom set and decided that you needed a change ? The only problem is how expensive new furniture can be !
You can make a bed frame, headboard and side tables for less than the cost of a brand new bed frame. You can bring down the cost of this project by using a solid wood door as the headboard.

So what is your best bet when you want to save money, yet you want something that will last you for years to come? Well, why not consider the best of both worlds?
With the instructions you will find below, you can make a lovely bedroom suite. Just do not forget the other supplies and tools you will need within the list to make this awesome bed.
These wood measurements and lumber supply list are for a queen size bed:
– 10 to 20 1x3x6′ boards (these are the wood slats that act as the boxspring, and you don’t need nearly as many as I used, as you will see).
– 1 4x4x8 ft board (douglas fir, not the green outdoor treated ones)
– 6 2x4x8 ft boards (more if you make sweet mistakes like me)
– 1 2x2x8 ft board (I bought this by accident, but it really came in handy).
– 2 1x10x8 ft pine boards
– 1 1x10x6 ft pine board (you could just buy 3 8ft boards, but I wanted to save money where I could, and this saved me a whopping buck fifty.
– 4 1x6x8 ft pine boards.
– 1 1x4x8 ft pine board

Extra Supplies:
-Sandpaper in 80, 100, 150 or 180, and 220 grit. If you have an orbital get all these in discs but buy regular sheets of 220 as wel.
-1 quart Pre-stain (this stuff is for people like me who buy crappy soft woods, so the stain takes more evenly)
-1 quart Stain of your choice. I used all minwax stain products, for consistency, even though I don’t really think it makes a difference.
-1 quart finishing polyurethane. I chose satin because I hate glossy things, but that is up to your own tastes. They also make products that are supposedly stain and polyurethane in one? I think I’d rather stay away from that.
-Wood putty. I prefer the squeeze bottle.
-small flexible putty knife for the above.
-Nails for the nailgun. 1.5″ are a good size
-A crapload of wood screws. 2.5″ and 1.5″
-Wood glue. I bought two good sized bottles, but one was enough. I bought the Gorilla Glue brand wood glue because it was on sale. And because Elmer’s should stick to non-toxic elementary school glue
-tack cloths.
-mineral spirits
-lots of cotton rags, like cut up t-shirts
-sponge brushes, i used 2 and 3″ sizes
-2 Metal brackets for applying a center 2×4 to the frame
-Another 4 sweet metal brackets that slip over a 4×4 and have bracket for 2×4 coming off 2 ends.
-4 5.5×3/8″ hex bolts
-16 3/8″ washers
-16 3/8″ hex nuts
Gather these tools together:
-Table Saw
-Miter Saw
-Air Compressor with 18ga nail gun
-Electric sander (mine is an orbital)
-Tape measure
-Carpenter’s triangle (or whatever the crap it’s called. EDIT. speed square. thanks.)
-Pencils
-Screwgun/drill
-Hammer/rubber mallet
-Several C-Clamps. I have 6 12″ ones, and that seemed to be good enough for my needs.
-Sawhorses
-9/16″ wrench
-9/16″ ratchet
Click here to read about how to make a homemade platform bed with floating nightstands diy project: