It doesn’t matter whether you are obsessed with rock climbing or you are a boating fanatic, you will want to know how to tie a knot at one point in time. This guide will walk you through four simple steps on how to tie a knot. So hopefully, you will know how to tie a knot after reading this post.
Step 1: Tie an overhand knot

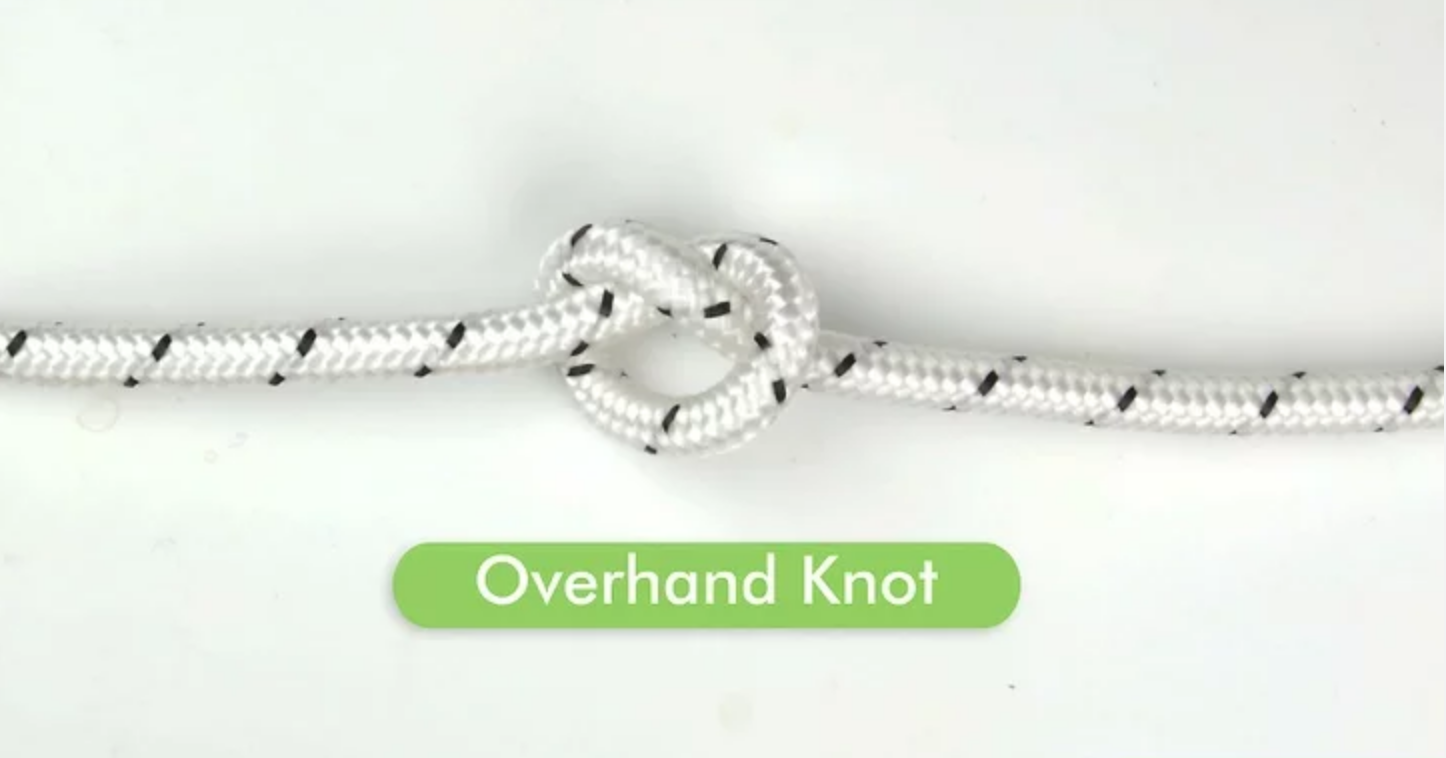
Overhand knots are quite straightforward to learn. In fact, these are the knots that beginners will start with.
- The first step is to create a loop that resembles a roller coaster, then insert one of your string ends into the loop. Next, you want to pull the ends in opposite directions to make your knot tight.
Step 2: Tie a bowline knot
The bowline knot, also known as the bowline hitch is another way to understand how to tie knots. With this knot, you will have a fixed loop at the end of a string.
- The first step is to hold an end of the string, then make a loop using your other hand.
- Let the end of the string be in the loop you created using the other hand. Make sure that the right endpoints towards you as it enters the loop.
- The third step is to make sure that the right end is around your left end.
- Your last step is to pull your right end into the loop. This time around, make sure that the end doesn’t point at you. Finally, pull away the ends to make your knot as tight as possible.
Step 3: Tie a square knot
Square knots are also referred to as reef knots. Tying them is a no brainer as they are used temporarily.
- First, hold each end of the rope in separate hands. Next, criss-cross the right-hand end (A) on top of the left-hand end (B), forming an X.
- Cover the end on your right hand so that it intersects under the end on your right hand and comes up again. Repeat the vice-versa to form a half-knot.
- Finally, put end A above end B to form an overhand knot. Secure the four ends formed by the knot to form a loop-like knot.
Step 4: Tie sheet bend knots
You can also learn how to tie a knot using the sheet bend knots, which are used to secure two ropes together.
- Begin by forming a loop from one of the ropes, then secure them together using your hand. Use the ends of the remaining string to run through the loop.
- Gently pull the end of the latter rope such that it passes above the loop and covers the entire parts of the string.
- Take the end of the latter rope and pull it above itself so that it pops out of the loop. Tightly pull both strings apart to form the knot.


