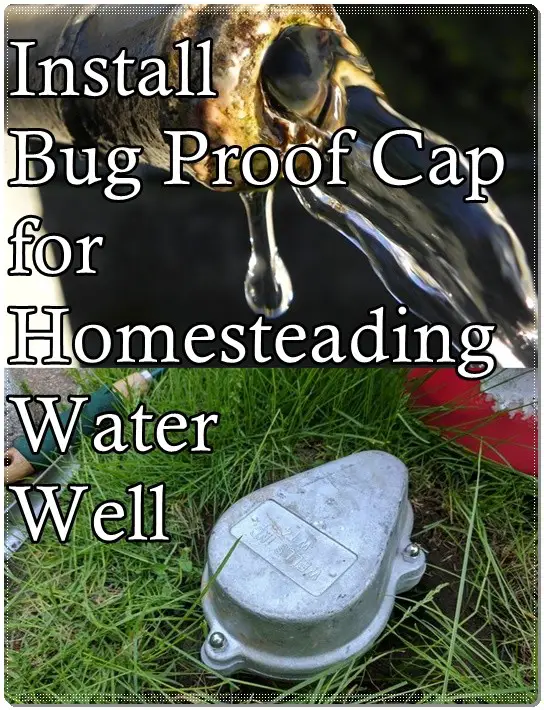
How to install bug proof cap for homesteading water well helps to create a sanitary environment which reduces bacterial contamination.

For those who have private wells for water, it is important to not have it affected by the presence of bugs. Having a well cap to keep the bugs out is essential. For those who are do-it-yourselfers, here is how to install a bug proof cap for a well.
First, cut off the power to the well. Take out the cover that is not bug proof; it is a half-hearted attempt to make a cap. After pulling the wiring from the well pipe, disconnect it from the home. Then, remove the old pipe that held that wiring so the new wiring can be safely installed. Wrap PVC tape over the wiring as a protection. After that, comes the new cap, which is made in two pieces: the cap and the base flange.
To fit the flange over the well pipe, loosen the nuts a bit and place it over the pipe. Use a ratchet and socket to tighten the base flange to the pipe. Reconnect the hot and cold wires from the house to the well wires and attached the ground wire to the new well cap. With the correct socket, tighten down the cap to the base flange. Reconnect the power and turn it on to see if it works well. Double-check the wiring to see if the connection works. Just like that, a bug proof cap has been installed.
Click here to read about how to install bug proof cap for homesteading water well:
http://www.instructables.com/id/Installing-a-Bug-Proof-Cap-for-a-Private-Well/

