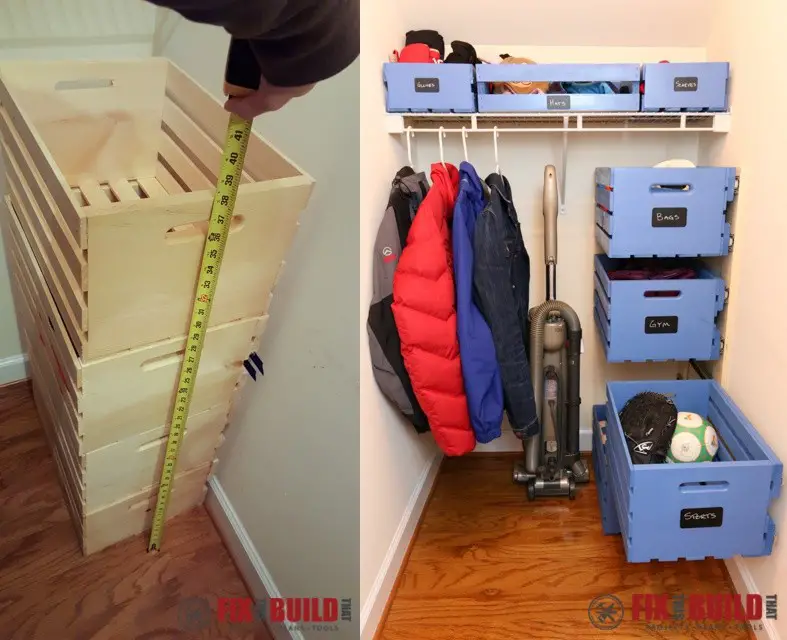
This Sliding Wood Crate Closet Storage DIY Project is a great task to create a moveable independent compartments to store foldable clothing and other what nots.

Start with the big crates by fitting the sides with two 1×4 strips for the slides. Saw two 18-inch pieces for every crate, put strips on them, and screw them top and bottom on the right sides. If wanting to paint them, do this and sand the edges. As they dry,saw a spacing board to work with in screwing in the drawer slide. Dried, use the spacing tool to make centered lines for the slides on each box about 1-¼ inches from each other. Line up the slides and drill holes and put in screws so they are held up. This great how to is from, Fix This Build That.
To hold the continuous strips along the back walls and sides, use the walled anchors. Size the furring strips evenly with the crate’s top with three inches of space in between the crates going downward. Simply, measure 1-1/2? starting from the top down and place the spacing tool on the front of fur strip. Write down the lines along each side of the spacing tool and line up the slides using the front piece of fur strip and the holes along the center. Attach the slides with the included screws. Repeat with every single box and slide till they are all placed in and it is finished.
Click here to read about Sliding Wood Crate Closet Storage DIY Project:
http://fixthisbuildthat.com/diy-pallet-crate-closet-storage-plans/

