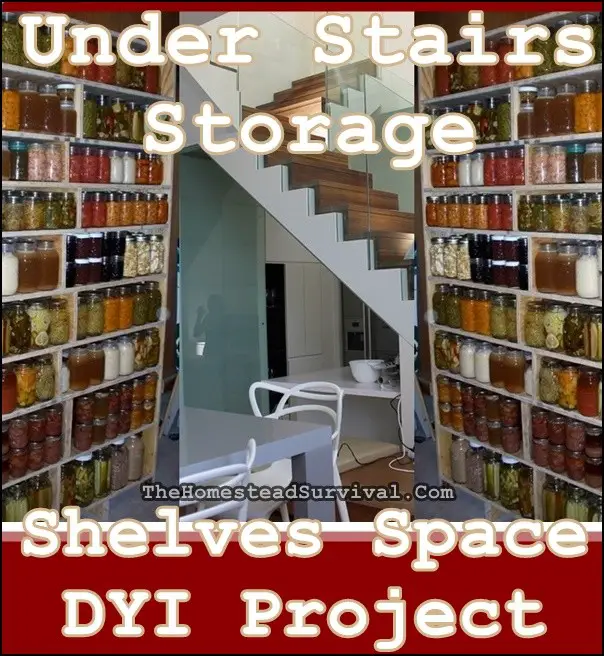
The Under Stairs Storage Shelves Space DYI Project also has a added bonus of a sliding barn door to close of the space when not in use.

Turn the space under your stairs into extra storage space or pantry!
In this DIY, we use a sliding door to hide the items and also make the area more beautiful.
1. Make a door that matches your house design. If it’s rustic, try an old barn door. Measure and cut the wood planks. Stain or paint them to match your interiors, then apply poly sealer. Once it is completely dry, attach the door hardware. Attach rollers at the bottom of the door, and a cupboard pull or handle, so you can slide it back and forth to access your storage area.
2. Attach backing boards to the wall of your shelving area.
3. Now make the shelves! Measure and cut plywood into the desired size. Also cut a few pieces of wood that can give vertical support, especially if it will hold heavy items.
4. Use a pencil, level and a straight edge to mark where you want the shelves to be.
5. Screw the shelf base to the wall.
6. Install the shelves.
7. Depending on your preferences, you may want to paint the top, bottom and sides of the shelves to match the color of the walls.
8. Attach the rollers on the door. You may also want to put stoppers at the end.
With these very affordable materials and simple instructions, you now have extra storage space! You can also attach a rod or hooks to the sliding door where you can hang baskets or bags.
Click here to read about how to build Under Stairs Storage Shelves Space DYI Project:
http://thediymommy.com/how-to-build-an-under-stairs-pantry-with-a-diy-sliding-barn-door/
As an added bonus, You may want to take a peek at the article “How to Build Under the Stairs Shelves for Storage DIY Project”:
https://thehomesteadsurvival.com/build-stairs-shelves-storage-diy-project/

