Basic life support can save lives in case of an emergency. The CAVES Method, which was created by experts, is a systemic approach to provide proper treatment. It is made up of five steps: Check for danger, Activate emergency response system, Ventilate, Evaluate, and Start chest compression. By doing these things, your chances of living will increase. Medical workers, first responders, and anyone else who wants to learn how to save lives can use this article to learn more about the CAVES Method. Find out more about the method and get ready to make a change when it matters most.
Why Basic Life Support (BLS) Training Is Important
Basic life support, or BLS, stabilizes a person until professional help comes in life-threatening situations like cardiac arrest or choking. Learning BLS gives people the tools they need to recognize situations, help people, and call for help, which could save lives. Healthcare professionals aren’t the only ones who can gain from training in CPR, AED use, and managing an airway. As a teacher, parent, or member of the community, knowing BLS can save lives in an emergency, making you an important asset to your community.
How the CAVES Method Works
Step 1: Check for Danger and Responsiveness
Checking for danger and evaluating the scene for any possible dangers is the first step in the CAVES Method. Making sure both the victim and the rescuer are safe is very important. For example, look for fire, electrical hazards, or buildings that don’t seem stable. When the scene is unsafe, don’t go near it until it is secure.
You should check on the subject to see if they are responding once the scene is safe. Check on the person by tapping them gently and asking if they’re okay. Move on to the next step if there is no answer.
Step 2: Activate Emergency Response
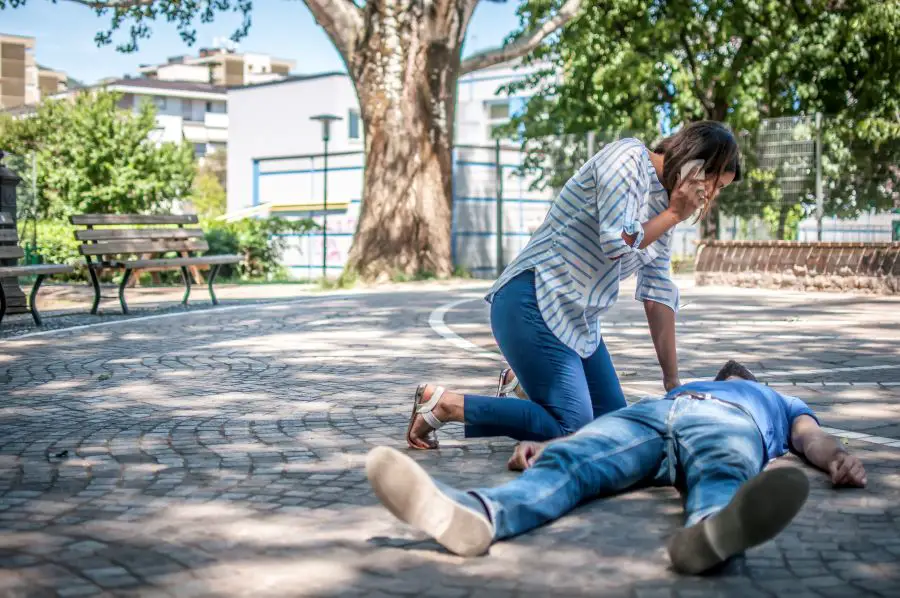
Turning on the emergency response system is the second step of the CAVES method. Contact for help by calling 911 or your local emergency services number. Provide the dispatcher with clear and concise information about what’s happening, including where the subject is and how they are doing. Additionally, advise anyone else nearby to contact for assistance.

It is guaranteed that professional medical help will arrive as soon as the emergency response system is activated. In a life-threatening emergency, time is of the essence, and the sooner help comes, the better the chances of a good outcome.
Step 3: Ventilate the Patient
The next step is to focus on ventilating the patient after the emergency services have been called. This step is where the first aider makes sure the victim can breathe and is getting enough oxygen.
Place the patient on their back and tilt their head back a little to help them breathe. You can open the person’s airway by putting one hand on their face and lifting their chin with the other. Check for signs of breathing for no more than 10 seconds by looking, listening, and touching.
If the person isn’t breathing or is only gasping for air, they need to be given rescue breaths right away. Apply pressure to the victim’s nose and cover their mouth with yours to make a seal. Take two slow, one-second breaths. Keep an eye on the victim’s chest as they breathe.
Step 4: Evaluate the Patient’s Airway
Once the patient’s airways have been ventilated, it is very important to check their mouth for any blockages. Here, the first responder checks to see if the victim’s airway is open and does what they need to do if it isn’t.
Place your fingers gently on the person’s chin and lift it forward while keeping their head turned back. This will help you see if they can breathe. Check inside the mouth for things like vomit or foreign objects that could be blocking the flow of air. Using your fingers or, if you have tweezers, carefully remove any obstructions you see.
After taking out any visible items that might be blocking the airway, abdominal thrusts (Heimlich maneuver) or chest compressions may be necessary. These steps are usually taught in BLS classes and can save a person’s life if they are choking.
Step 5: Start chest compressions

The last part of the CAVES method is to start chest compressions if the person is not breathing, not responding, or has no pulse. For important organs to keep working, chest compressions help move blood and oxygen around the body.
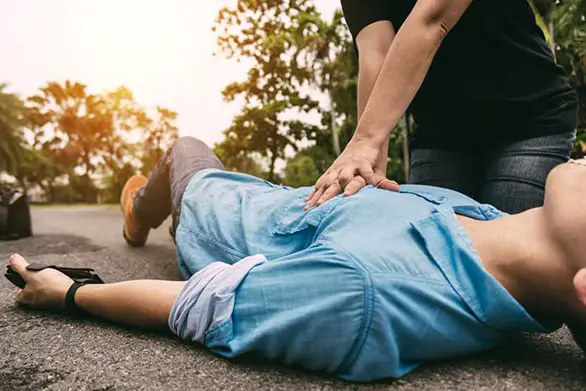
Put the heel of one hand on the middle of their chest, between their nipples. Cross your fingers with the other hand on top, and keep your arms straight. Press down on the victim’s chest until it’s about two inches compressed. Make sure your shoulders are straight above your hands. Allow the chest to fully relax between compressions, and do 100 to 120 compressions per minute.
Keep applying pressure to the chest until professional help comes or the person shows signs of life, like breathing or moving.
Consider taking BLS training courses if you want to use the CAVES Method successfully. Courses like these give you the chance to get feedback from experienced teachers and give you the chance to practice using real-life situations. Maintaining confidence and skills in basic life support requires ongoing training and practice.
Why BLS certification and ongoing training are important
Time is very important in crises. How things turn out depends a lot on how much you know about basic life support (BLS). Responders are led systematically through important steps like the CAVES Method, which is an organized method. You can be very helpful in an emergency if you learn this method and get your BLS certification. Continuous training keeps you skilled and up to date on advances in the field. Readiness saves lives. Being ready to give immediate care when it’s needed most means taking the effort to learn BLS.


