By adding glamour to the inside of your house, you can give your living areas life, personality, and a clear sense of style. In the rustic charm of life on a farm, temporary wallpaper stands out as a useful tool that can easily improve the mood of your home without the long-term commitment of traditional wall coverings. This article covers everything from how to use wallpapers to make your inside of the house look better to what you should avoid when choosing wallpapers.
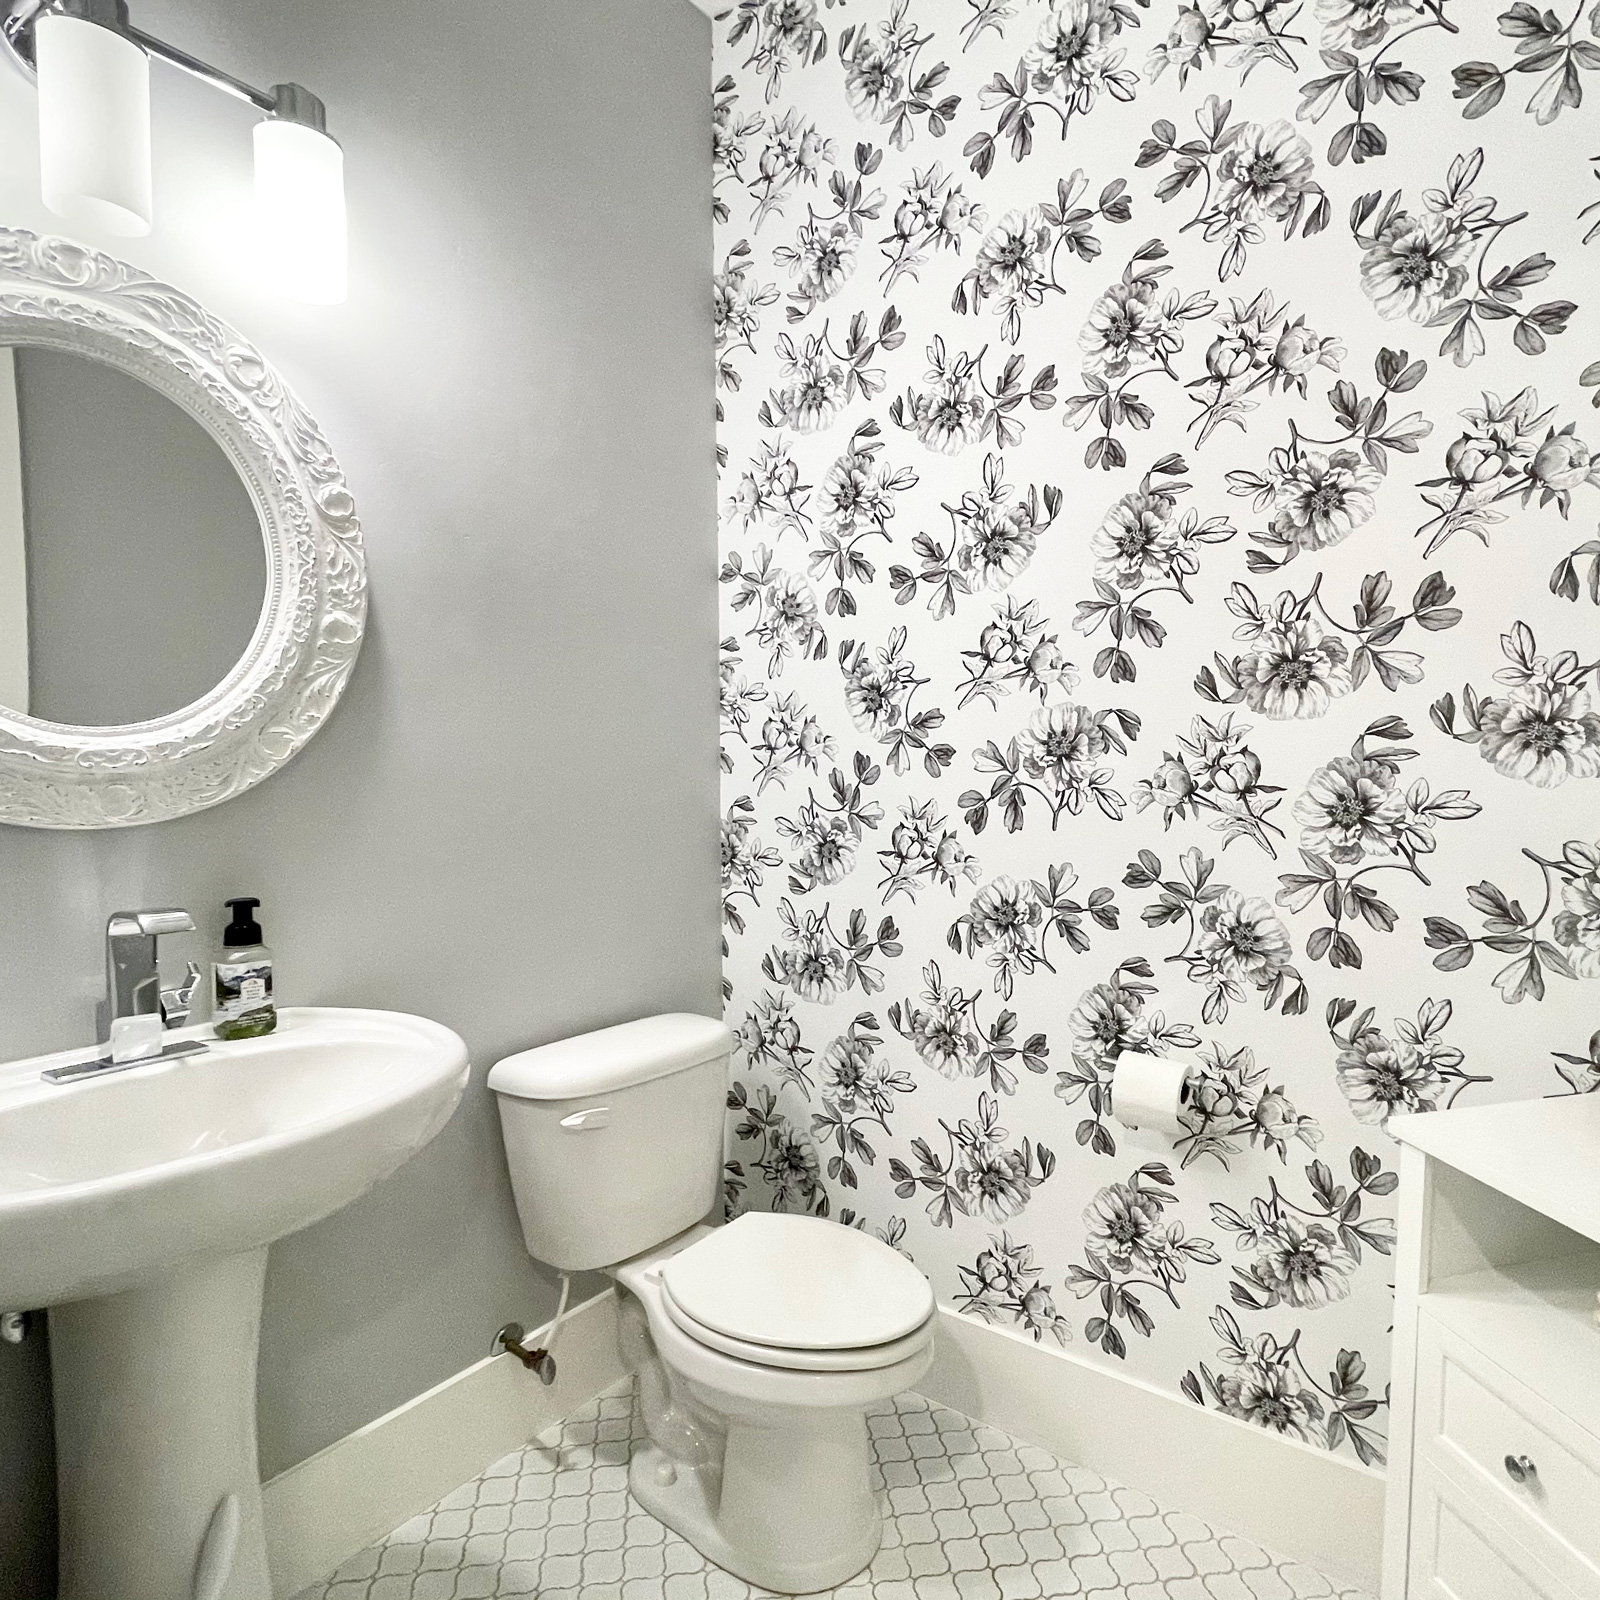
One of the many advantages of dark green floral wallpaper is that it’s a blank board that you can change around with different patterns, colors, and textures to make a room that fits your needs. There is a huge variety of temporary wallpaper, from cute flowers to classy metallics. This means that you can easily change the look of your rooms and give them personality. Temporary wallpaper is a great way to update an old room, make a bold statement wall, or just add a little personality to your living spaces. It’s also easy to remove when your style changes.
We’ll go over each step of the process in more depth below, from picking out the perfect wallpaper design to carefully and skillfully putting it up.
Pick the Right Wallpaper

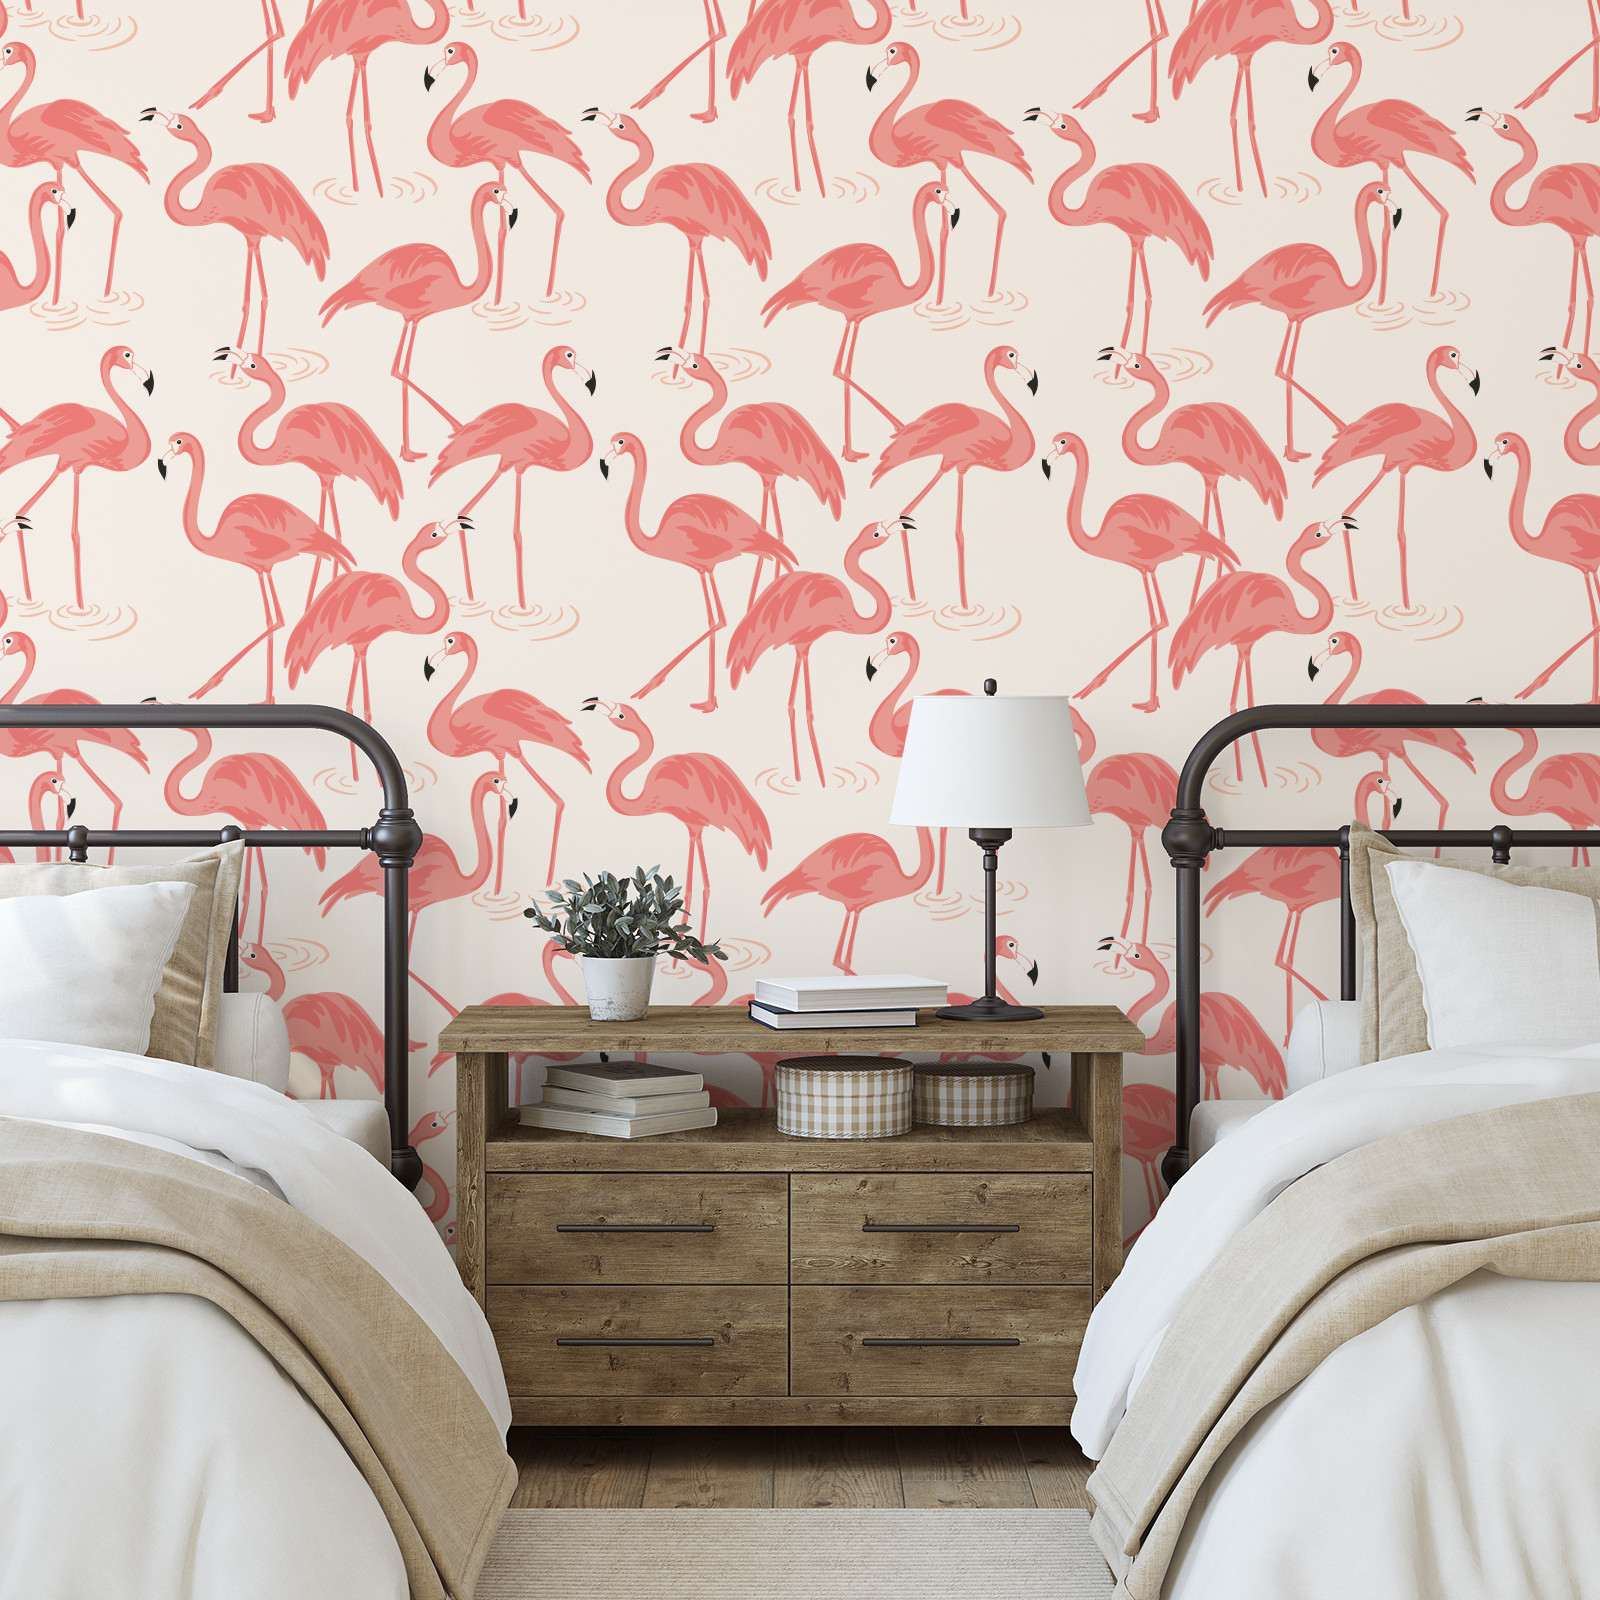
When picking temporary wallpaper, think about the look and feel you want to create. Choose designs that fit your style, whether you like floral patterns for a country look, shiny finishes for a more modern look, or big prints for a statement look. You can try out different temporary backgrounds before making a final choice because they come in different textures, colors, and patterns.
Get the Surface Ready
Make sure the surface is clean, smooth, and free of any dust or other dirt before you put up temporary wallpaper. Clear the walls with a mild soapy water mixture and let them dry fully. Get rid of any flaws or rough spots to make a perfect base for the wallpaper placement. For a smooth finish that lasts, it’s important to prepare the surface properly.
Smoothen the surface
You equally should smoothen the surface to make sure the walls are smooth before application. This is mainly the case if you had previously used paint or other wallpapers on the walls. It will equally remove the bumps and make the application smooth.
Measure and Cut
Make sure you get the exact measurements of the wall before cutting the wallpaper. Leave a few extra inches at the top and bottom to allow for changes. To make clean cuts, use a straightedge and a tool knife that is sharp. Enjoy this step and be careful not to waste any wallpaper. Make sure that each piece fits perfectly on the wall.
Put Up Adhesive
Most temporary posters have a backing that you can peel off and stick on, which makes the process easy and quick. This is mainly the case with peel n stick wallpaper. Start by pulling off a small piece of the backing. Then, work from the top to the bottom and use a wallpaper smoother or squeegee to get rid of any air bubbles or creases in the wallpaper. Do this again and again until the whole wall is covered. For a professional look, make sure that the gaps are perfectly aligned.
Style and Add Accessories
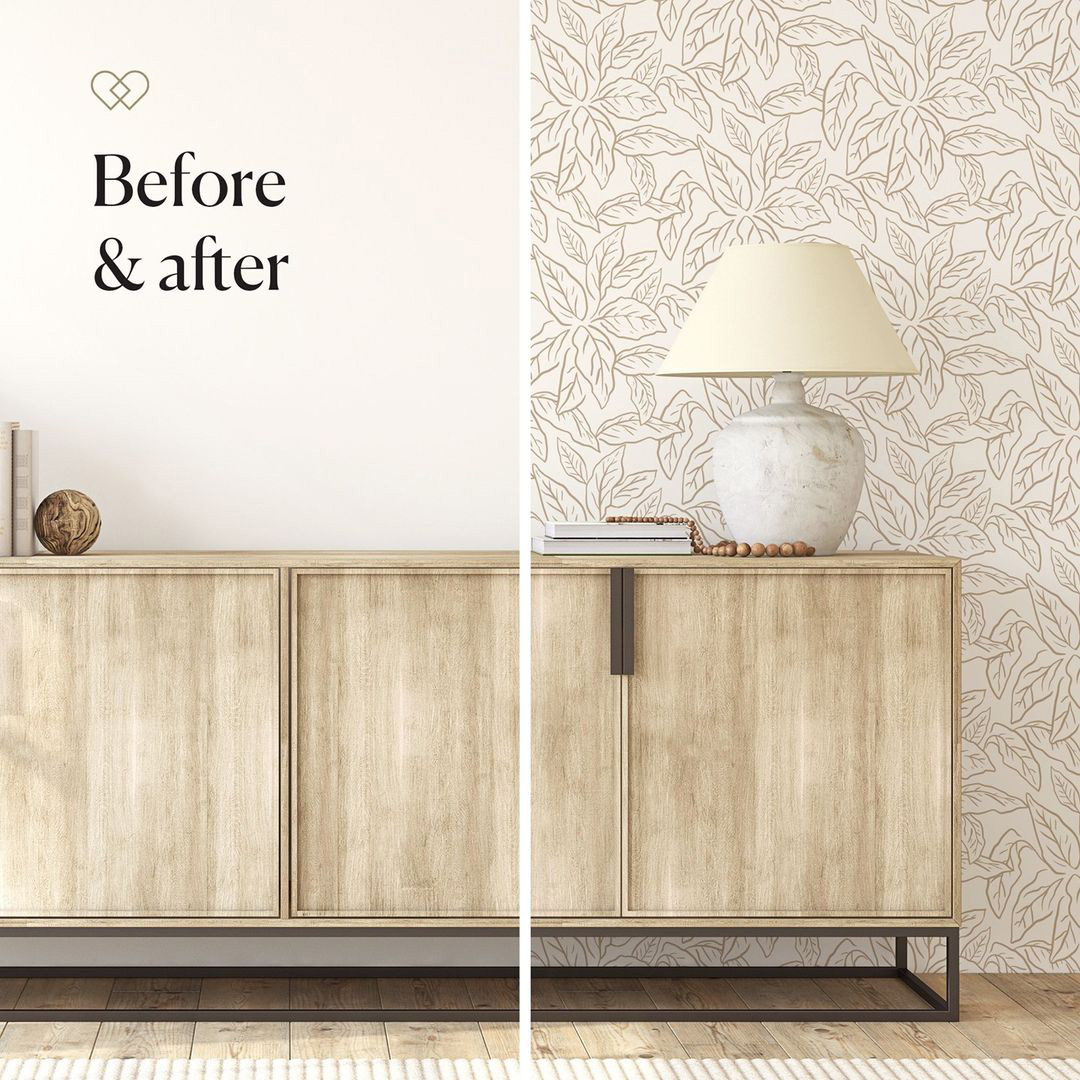
Once the wallpaper is up, add accessories like artwork, lamps, rugs, and furniture that go with the wallpaper to make the room look better overall. Try out different patterns, colors, and textures to make the room look interesting and balanced. You shouldn’t be afraid to mix and match styles to show off your personal taste and make a space that is uniquely you.
Finalize

When everything is done, you can cut the edges and finalize the process by adding wall art and other things that can make the wall more beautiful.
By following these steps, it will be easy to add glitz to the inside of your house with temporary wallpaper. You can turn plain walls into stunning focal points that make the whole room look better. Let your imagination shine as you try out different designs and methods to get the look you want.


