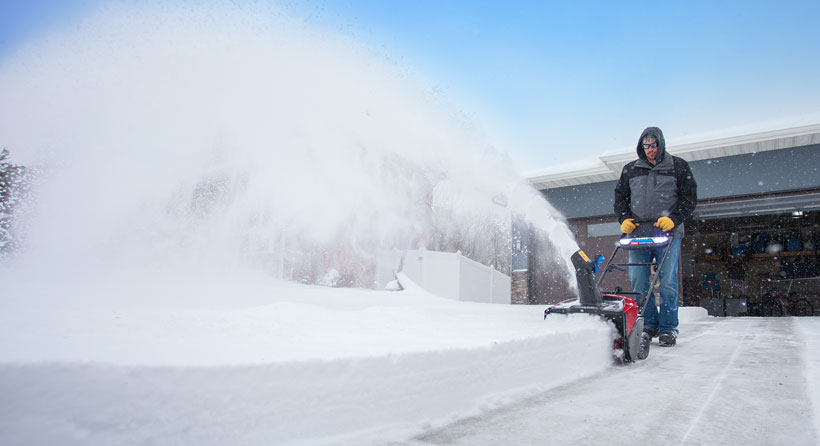
Snow blowing your driveway after getting a few inches of fresh powder is like any other job around the house: you want to get it done as quickly and efficiently as possible.
So, what’s the best strategy for clearing your driveway with a snow blower? We’ve broken down everything you should do when using your snow blower into six simple steps so that you can clear your driveway with little to no hassle and move on with your day.
Before we get started, always remember to refer to your snow blower owner’s manual before use for directions that apply specifically to the model you own.
Prepare Yourself
The single most important thing to keep in mind when you’re snow blowing your driveway is your own personal safety. That starts with dressing for the cold – multiple layers, a winter hat, gloves or mittens and warm boots are essential. Check the temperature outside and get a good feel for any possible windchill so that you don’t underdress.
It’s recommended you don’t wear loose-fitting clothing that could get stuck in the snow blower and threaten your safety.
Prepare Your Snow Blower
Continue to protect yourself and your snow blower by making sure the machine is in good condition and ready for use. Give your snow blower a thorough inspection to make sure all parts are in working order and replace them as necessary with original equipment manufacturer parts. Also check to see if the oil should be changed or if you need fresh fuel.
To ensure your snow blower is always in tip-top shape, follow a regular maintenance schedule like this one from Troy-Bilt.
Prepare Your Driveway
Make sure your driveway and other areas that you’re removing snow from are clear of any objects or debris – like a newspaper or a dog chain – that could get stuck in your snow blower and damage the machine or result in an injury.
Additionally, don’t begin snow blowing until the area is cleared of bystanders or pets. If they’re around the area while you’re snow blowing, make sure they’re at least 75 feet away from the snow blower and never point the chute in their direction.
Check the Wind
Wind direction plays a key role in determining the path you’ll take when clearing your driveway.
If there is little or no wind, it’s best to start snow blowing in the middle of the driveway. However, if there’s a stronger wind then your best strategy will be to start clearing your driveway from side to side. More on that below.
Plan Your Snow Blowing Route
Before we detail how to plan the best snow blowing route, here are a couple of tips to keep in mind while you’re clearing your driveway:
- It’s best to clear snow from your driveway during or immediately after a snowfall, if visibility is good. The longer you wait after a snowfall, the more difficult it will be to clear your driveway.
- Remove snow from your driveway lengthwise so that the job can be finished in fewer passes and turning your snow blower is easier.
- Clearing speed is important. Keep up a good, steady pace so that your clearing distance has the snow being thrown 15-20 feet. If you go too slow then the snow won’t be thrown far enough.
- Throw snow as far into your yard as possible, ideally into unused areas, to keep from creating large snow banks along the sides of your driveway.
- Avoid throwing snow where it can build up on the sides or foundation of your home and potentially lead to water damage.
Now, as for planning your best snow blowing route, if there’s little or no wind, start snow blowing in the middle of your driveway and work in a circular motion that gradually widens. That way you won’t have to change the snow blower’s chute position – it will always be pointed away from the areas you’ve already cleared – and you’ll avoid having to clear the same area twice.
If you do have to deal with wind, don’t fight it. Rather than starting in the middle of the driveway, start on the side in the upwind direction and blow snow in the direction of the wind to avoid it falling onto areas you’ve already cleared. As you make your way up and down the driveway, adjust the snow blower chute’s direction so you don’t throw snow onto cleared areas.
Shovel After Snow Blowing
While you’re blowing snow, it’s likely that some of that snow will land in areas around your property that your snow blower can’t access. That’s why saving all your shovel work until after you’ve finished snow blowing is the way to go. It guarantees you won’t have to shovel any areas twice.


