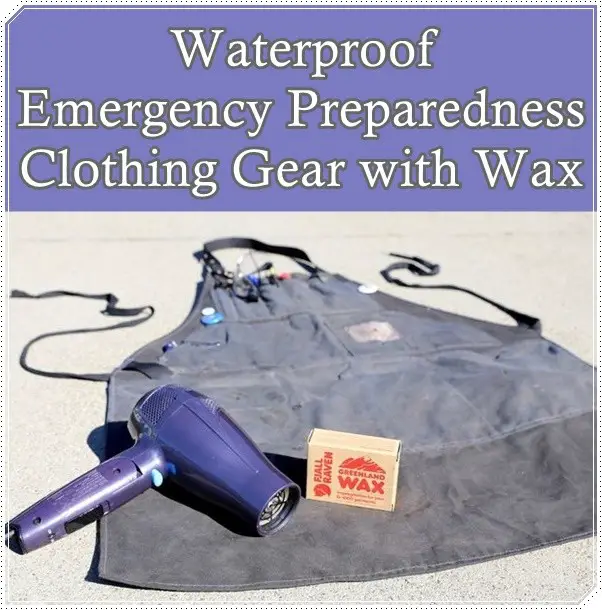
How to waterproof emergency preparedness clothing gear with wax is simple in this step by step tutorial. Waxing your clothes is quite simple if you know the tools to use and know the process. When your fabrics are waxed, it stretches the life of the fabric and also prevents it from absorbing unwanted materials.

Make sure you like The Homestead Survival and Homestead Survival Facebook, and explore our PINTEREST BOARDS for innovative ways you can become self-sufficient on a budget.
To wax your fabric, you would need a few items like; a stiff brush, fabric wax, and hair dryer.
Materials and Tools needed for this project:
Item to wax (I’m using my work apron)
Fabric wax (Otter Wax Fabric & Canvas Wax Bar – Buy Here)
Hair dryer
Stiff bristle brush
Before fabric is waxed, it is thoroughly washed and cleaned, most times using the stiff brush to scrub off any dust or even residue wax if it has been waxed before, then rinsed out and dried. The fabric is placed on a flat surface, and the wax is rubbed over it, most people would rub the wax all over the fabric before heating the wax with the hair dryer. But it is better to wax the fabric in patches, rub some wax on a particular part, and heat with the hair dryer on max in a circular motion, to avoid missing a spot. And when fabrics are being waxed it is advisable to pay special attention to some areas like the seam, because they might be special more waxing than other parts of the fabric.
After waxing and heating when the fabric is cool you can still decide to wax if it is not waxed enough. You can wax your fabric after the wax wears off due to usage.
Click here to read about how to waterproof emergency preparedness clothing gear with wax:
http://www.instructables.com/id/How-to-Wax-Your-Clothing-and-Gear/

