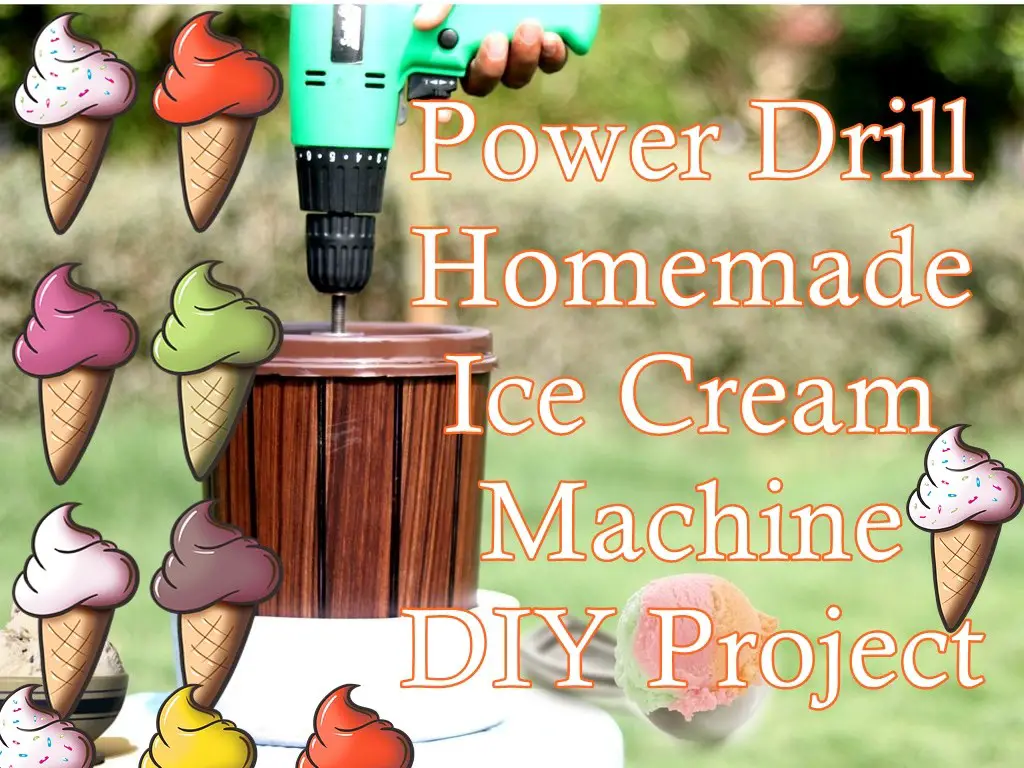
Power Drill Homemade Ice Cream Machine DIY Project
Have you ever wanted an ice cream maker of your own, but not wanted to spend a ton of money on buying one? Well, suffer from that desire no longer, because will tell you how to create a quick and easy way to make ice cream at home with very little fuss. If you’ve ever wanted to have a DIY ice cream maker of your own, read on!

For materials, you will need a plastic container, a slightly smaller aluminum container (it must be able to fit comfortably inside the plastic container), a hand-held drill (cordless is preferable for ease of use, but corded works just as well in terms of functionality), some threaded nuts and bolts, and some aluminum sheeting.
This article explains how to combine all of these materials together (the process is relatively straightforward and involves drilling some holes into the tops of the containers, creating a mixing shaft, and putting the two containers together) to create an at-home ice cream maker.
Once the process of creating the ice cream maker itself is complete, you can then move on to the actual making of the ice cream! This article explains the ratio of milk and sugar to put into the aluminum container, and walks you through the process of adding the ice and salt before closing the container and utilizing the drill machine to mix the ice cream (by connecting it to the nut on the top of ice cream maker, which will in turn spin the mixing shaft when the drill is activated).
And that’s it! After about fifteen or twenty minutes of running the drill, your ice cream should be thoroughly mixed and ready to eat!
Click here to read about how to make a Power Drill Homemade Ice Cream Machine DIY Project:
http://www.instructables.com/id/Ice-Cream-Machine-1/

