

This step by step tutorial of how to build a sliding barn door project is an inexpensive way to add rustic homesteading flair to your home. From garage doors to interior doors, barn doors have made a particular splash in the home improvement industry within the last decade or so.
What’s not to love about them, right? Well, there is the expense of them. Who knew they could be so costly? However, that shouldn’t dissuade those that want them for one room or another. Build them yourself for a fraction of the price.
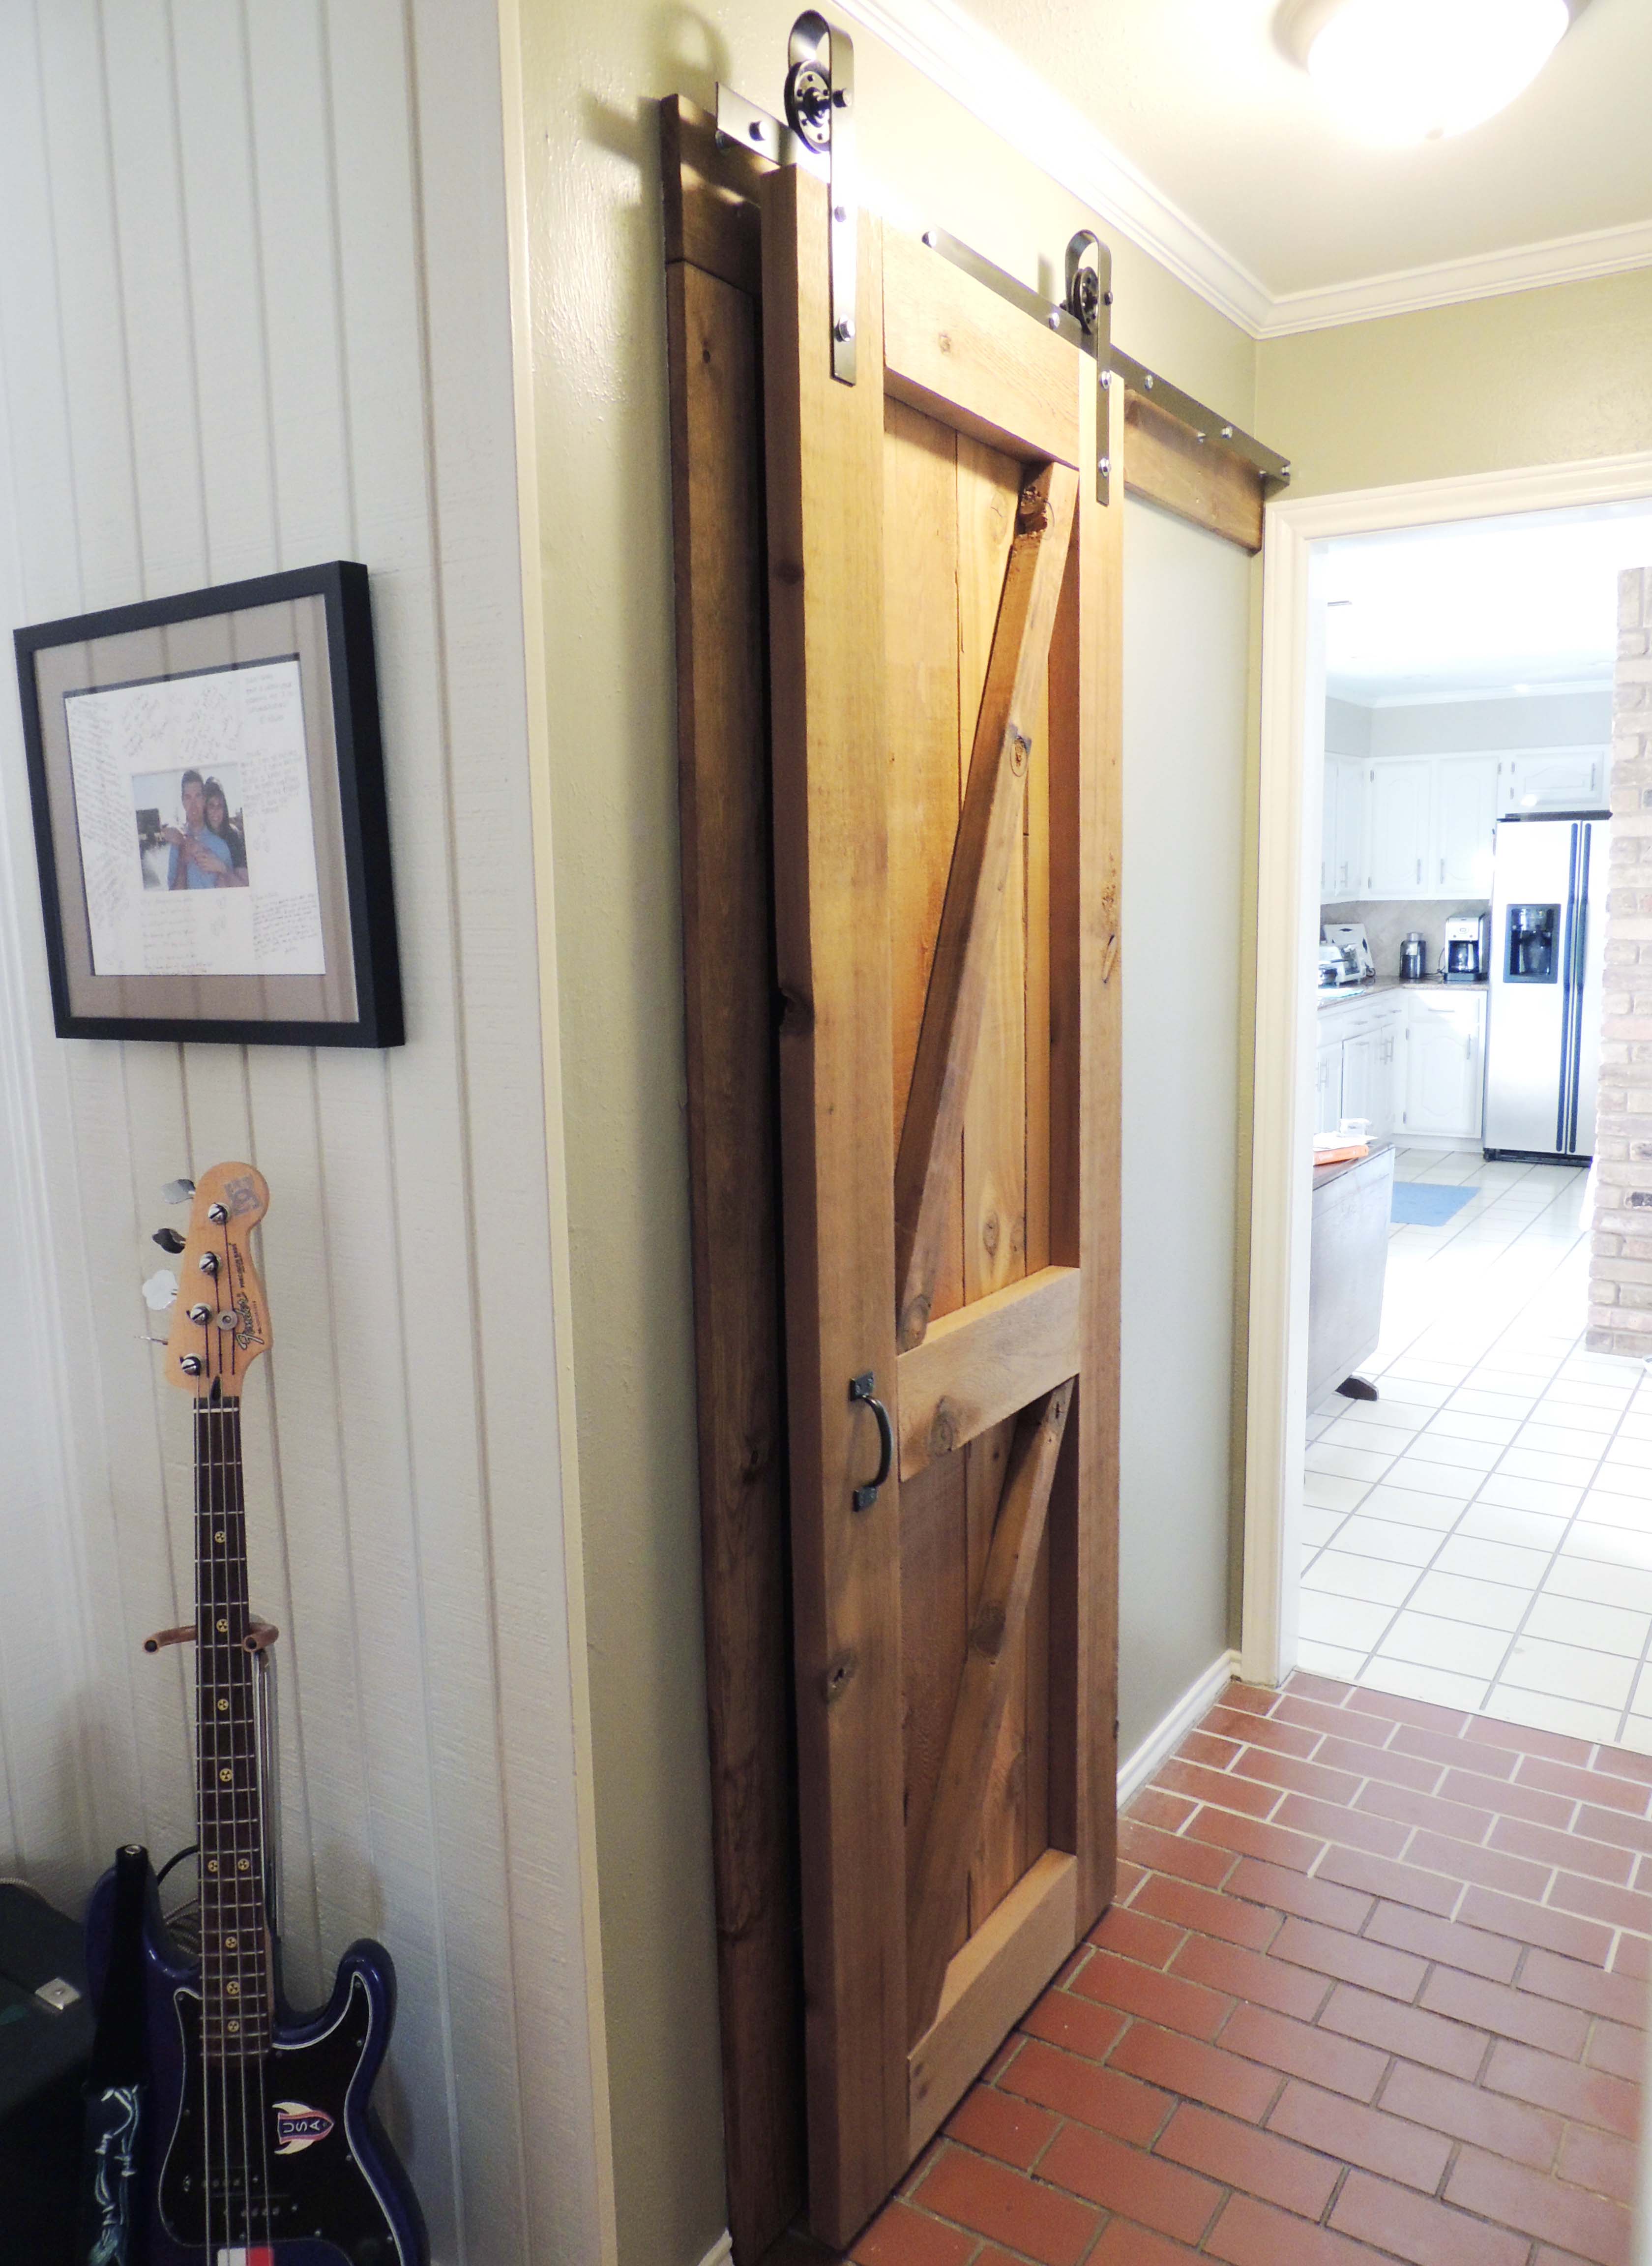
If you read below, you’ll find the cutest barn door you can make on your own. Can you believe it? A barn door that you can make yourself with some boards, some brackets, and a handle. It can’t be that easy, can it? Well, actually it can.
Once you have the wood you want for the door, it only takes about an hour or so to completely construct yourself a barn door that you can hang anywhere you want it throughout your home. You can make multiples if you want or keep it down to one for a statement piece within your home. You can make it swing closed or glide back and forth. Your options are endless with this door.
We love our homes and all the hard work we’ve put in them, but we can always find something within them that’s been bothering us that needs our attention to rectify at one or another. Maybe it’s not enough cabinet space or maybe it’s a door that doesn’t quite work with the room it’s closing off. Whatever the case may be, the single most popular trend for homes right now are the barn door look.
Supply and Cut List:
Two 2×6 cedar boards – cut to 7′ long for the sides. Purchased two at $9.97 each.
Three 2×6 cedar boards – cut to 19″ long for the top, bottom, and middle. Purchased one board to cut three pieces from at $9.97 each.
Two 2×3 cedar boards – used for the crossbeams. Purchased one piece to cut two pieces from at $3.97 each.
Four old cedar siding planks – cut to 7′ long to make up the base of the door. Purchased four planks at $1/linear foot or $8 each.
Four right angle brackets – to hold the side boards to the top and bottom boards.
Two T-brackets – for center board.
Four straight brackets – two for the top board and two for the bottom.
Wood glue – already had on-hand.
Nails – already had on-hand.
Handle. $3.28.
Cost Breakdown:
Wood: $65
Brackets: $5
Handle: $3
Total: Just under $75
Click here to read about how to build a sliding barn door project :
https://doordiy.wordpress.com/2014/01/26/when-the-wifes-away-the-hulk-will-play/