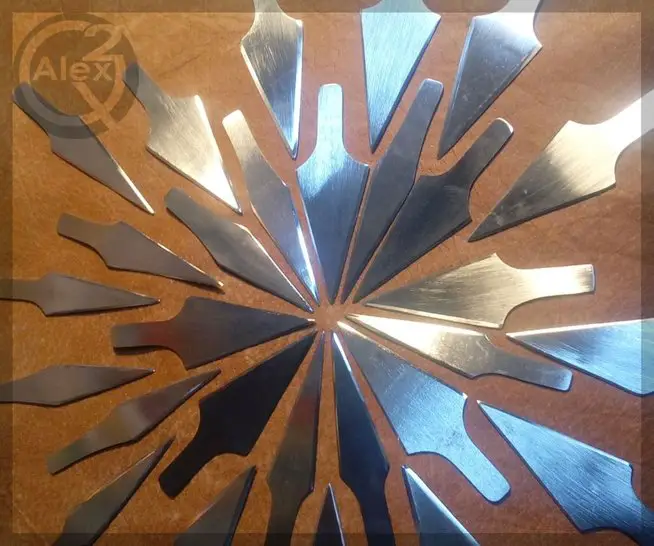
Make Metal Arrowheads for Archery Shafts DIY Project
Have you ever wondered how, exactly, an arrowhead is made? Here we will not only explain how it is done but also walk you through the process of making them yourself, step by step!

It explains the first step of the process, which involves planning the overall design of the arrowheads as well as stenciling out the shape of the arrowheads and cutting out that shape for later use during the creation process.
Then the process moves on to the selection and preparation of materials, namely the metal you will be using to craft the arrowheads. Technically, any sort of flat metal will work but in this article an old saw blade that was salvaged from a scrapyard is used, since it fits the criteria needed for making the arrowheads (and also comes with the bright side of being able to recycle a saw blade that would otherwise be left to rust away).
If the metal you’ve chosen is rusty or damaged, don’t worry!
This article will also explain how to remove the rust so that you can produce good quality arrowheads from the metal.
12pcs Traditional Hunting Arrow Head Screw-In Broadheads 150 Grain For DIY – (Click Here To View)
The next few steps of the process involves more prep work, such as transferring the arrowhead pattern from step one to the metal and them cutting your metal piece into smaller more manageable pieces (if you’re creating multiple arrowheads, that is).
Once the various preparations are complete, you can then move on first to the rough shaping of the arrowheads and then the more detailed work of refining their shape using sanders, grinders, and rotary tools (one of the most notable parts of the process is creating the bevels of the arrow heads). From there, you will learn how to sand the arrowheads and color them to create arrowheads that truly look the part.
Click here to read about how to Make Metal Arrowheads for Archery Shafts DIY Project:
http://www.instructables.com/id/How-to-Make-a-Batch-of-DIY-Arrowheads/

