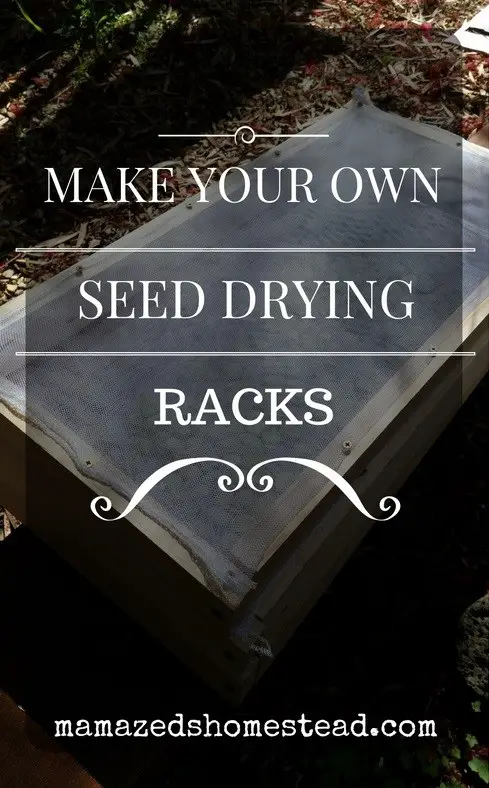
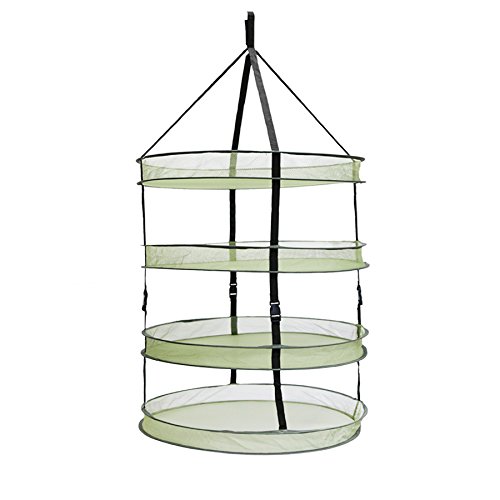
How to build herb or seed drying rack diy project is detailed in this step by step tutorial process from frugal materials.

Make sure you like The Homestead Survival and Homestead Survival Facebook, and explore our PINTEREST BOARDS for innovative ways you can become self-sufficient on a budget.
A seed drying rack is exactly what is says it is: a place to dry seeds. This is a proper way of drying any seeds or beans that needs to rid of the moisture in it. There are racks that can be bought online, but the Do It Yourselfer can build their own. With some wood, netting, and screws, it can be made.
First, measure the size of the rack desired with the wood. Create the four pieces with having leftover wood to use as a wedge between each rack made. Make the cuts straight to make this easier (obviously), and place this on strong ground where the rack can be stood up. Also, check the screws before screwing them in, as they could split the wood when inserting them. Drilling them in first could make things a bit easier too.

Once the frame is complete, the netting comes next. Get tiny screws to attach these in and get a craft knife to carve in the holes. Again, measure the netting so it covers the frame and mark down where the screws should be in. It should look like a two-level (or three, depending on how many seeds) frame that can carry the seeds and let them dry off outside.
Click here to read about how to build herb or seed drying rack diy project:
http://www.mamazedshomestead.com/make-seed-drying-rack/


