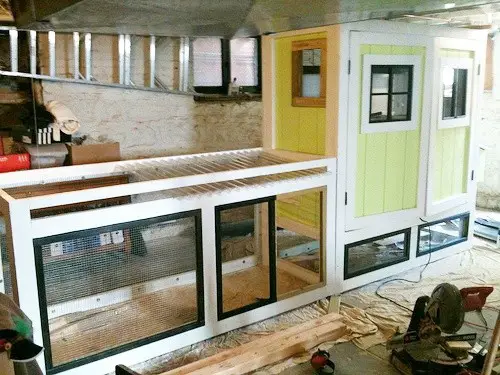
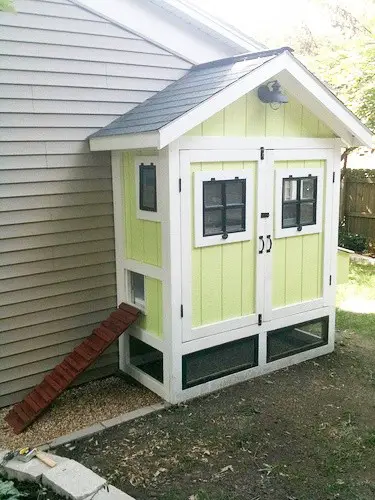
This Small Compact Vertical Chicken Coop DIY Project has detailed step by step free chicken coop plans below includes material lists and building instructions, making it an easy and low-cost option over buying a chicken coop.

The material required to build a small coop amounts to approximately 300 dollars if budgeting is done correctly and you find ways to use salvaged wood.
An average coop is made using 2×4s and plywood sidings, the two most expensive materials are the sidings and the hardware cloth. Some other essential materials that are required when constructing a coop are window sashes and removable screen frames, asphalt shingles, ridge vent, drip edge, roofing nails, assorted hinges, latches and handles among other items.
When building a small personal coop there are a number of things that need to be taken into consideration, such as how time-consuming the project might be; however, the finished product will most likely prove that the weeks you spent working on your coop was time well spent.

* Coop materials:
4 – 4’x8′ sheets of 19/32″ T1-11 siding (by carefully planning my cuts I had more than enough for the entire exterior including the nest box and two ramps)
1 – 4’x8′ sheet of 3/8″ plywood for drawer bottom, poop trays, nest box divider, etc.
1 – 4’x8′ sheet of 3/4″ plywood for roof (needs to be thick enough that roofing nails don’t stick through)
24 – 2″x4″x8′ (some of these were cut down to 2″x2″ or 1″x4″ using a table saw)
10 – 1″x2″x8′ for window sashs and removable screen frames
1 – bundle of asphalt singles
4′ of ridge vent
16′ of drip edge
Roofing nails
Assorted hinges, latches and handles
Assorted screws and nails
Paint and primer
Hardware cloth for windows (see Run materials)
Plexiglas for windows
1/4 round moulding for windows
1 – tube of Liquid Nails construction adhesive
1 – tube of white painter’s caulk
* Run materials (per section):
10 – 2″x4″x8′
1 roll of 3′ x 25′ hardware cloth
2 – sheets of corregated roofing
8 – 1″x2″x8′ for removable screen frames
Assorted hinges, latches and handles
Assorted screws, washers and nails
* Tools used:
Power miter/cross-cut saw (cutting lumber to length)
Table saw (cutting panels and milling 2x4s down to smaller dimensions)
Jigsaw (for cutting window openings)
Power finish nailer (nailing frames together, tacking pieces together while glue dried)
Power drill with screw bit (everything is screwed together. Lots of screws)
Hammer
Chisels (for hinges and fine-tuning opening)
Hand plane (for doors)
Tape measure
Framing square
Level
Tin snips (for trimming hardware cloth)
Caulking gun
Much consideration should be given to what you would like the interior of the coop to be. There are certain aspects that are essential in the internal design of the coop, such as lighting. The coop should be designed in a way that provides your chickens with exposure to natural lighting, which is easily achieved with the installation of windows. The chickens will also require a lot of ventilation, which will be provided to them through the use of windows in addition rear-wall vents.
Your coop should be designed with plywood panels on the ceiling, which will play a major role in air trafficking in the coop. During the extremely warm seasons, the hot air will leave the coop through the ceiling panels, while the rear-wall vents provide the coop with fresh air efficiently ensuring the comfort of all your chickens.
Click here to read about how to build Compact Vertical Chicken Coop DIY Project:
https://www.backyardchickens.com/articles/the-coop-4.49731/

